Understanding Exposure for Bird Photography
Bird photography is an exciting adventure that connects you with nature and allows you to capture the stunning beauty of avian life.
To achieve breathtaking images of birds, you must understand the nuances of exposure how light shapes your shots is key.
This article explores the significance of exposure, the factors that influence it, and practical techniques you can use to ensure your photos truly shine.
Discover lighting conditions, camera settings, common pitfalls, and troubleshooting tips designed to elevate your bird photography skills.
Contents
- Key Takeaways related to Exposure in Bird Photography:
- Importance of Exposure in Bird Photography
- Factors Affecting Exposure in Bird Photography
- Techniques for Achieving Proper Exposure
- Common Exposure Mistakes in Bird Photography
- Troubleshooting Exposure Issues
- Frequently Asked Questions
- What is exposure in bird photography?
- How does understanding exposure help in bird photography?
- What are the key elements of exposure in bird photography?
- How does aperture affect exposure in bird photography?
- What is the role of shutter speed in bird photography and how does it relate to image brightness?
- How does ISO affect exposure in bird photography?
- Proper exposure is essential in bird photography to capture the subject’s details and behaviors.
- Lighting conditions, subject movement, and camera settings all impact exposure.
- Techniques such as metering modes, exposure compensation, and bracketing help achieve perfect exposure, while post-processing can fix any mistakes.
What is Bird Photography?
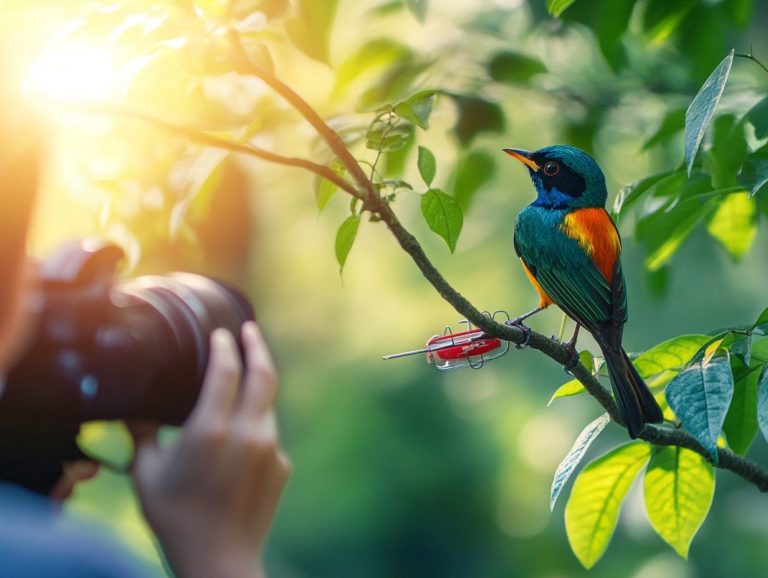
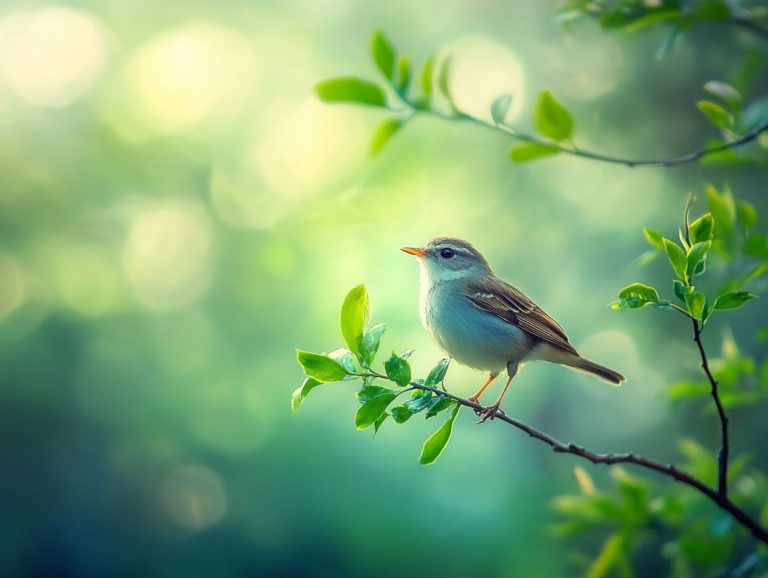
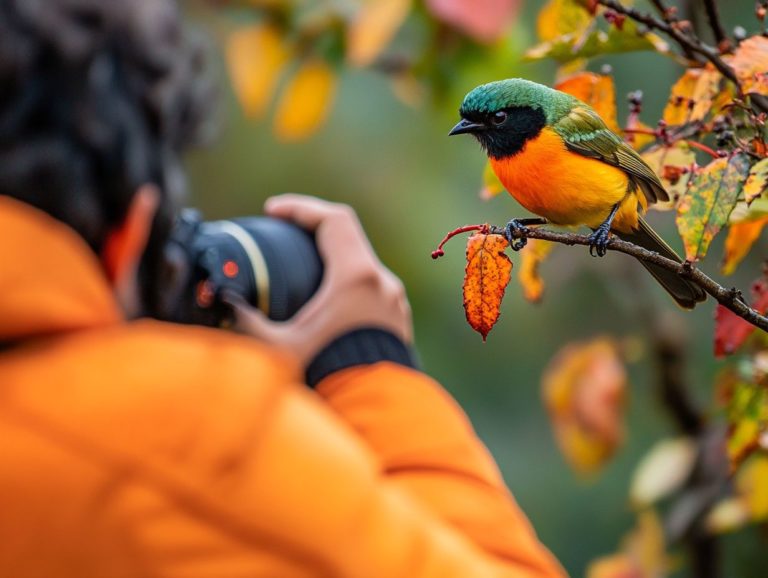
Bird photography is a captivating pursuit that invites you to capture stunning images of diverse bird species in their natural habitats. You have the opportunity to explore an array of avian wonders, from the vibrant plumage of tropical parrots to the graceful flight of majestic eagles.
Each bird presents unique challenges, compelling you to anticipate their behavior, stay still for extended periods, and navigate unpredictable outdoor environments.
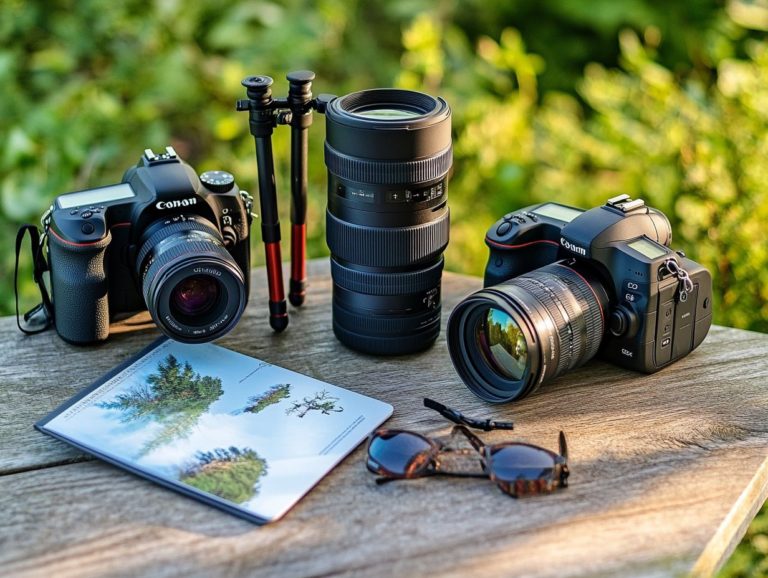
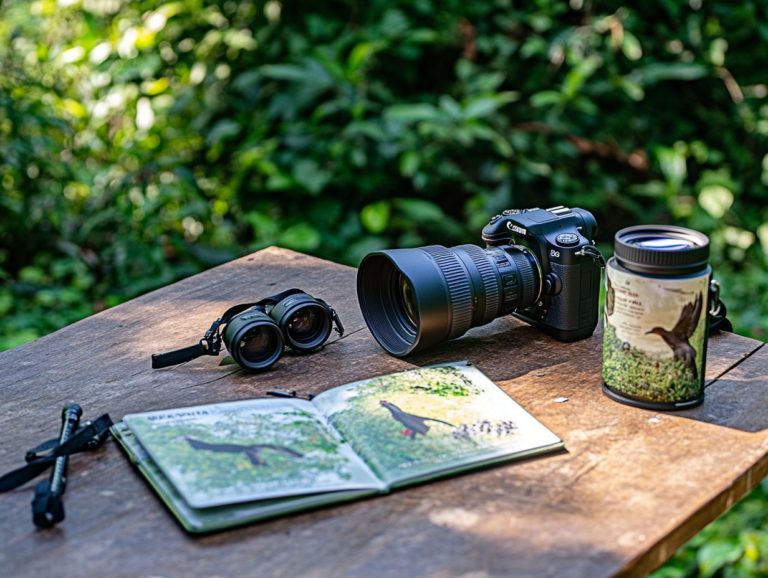
Having the right equipment, like zoom lenses with wide focal lengths and sturdy tripods, can significantly enhance your chances of securing that perfect shot.
The joy of birdwatching adds another enriching dimension to this experience, allowing you to revel in nature’s tranquility while honing your skills and deepening your understanding of avian life.
Importance of Exposure in Bird Photography
Exposure is vital in bird photography as it influences the quality and look of your images. Finding the right balance between shutter speed, aperture, and ISO settings is crucial for capturing sharp photographs, especially when photographing birds in flight.
Mastering exposure compensation helps you fine-tune image brightness, avoiding the issues of overexposure or underexposure that may detract from your final shot. Understanding the exposure triad shutter speed, aperture, and ISO is essential for anyone looking to elevate their photography skills.
How Exposure Affects Bird Photos
Understanding how exposure impacts your bird photos is key to capturing stunning images that showcase the beauty of your avian subjects. When you get the exposure just right, you preserve details in both highlights and shadows, allowing the rich colors and textures of feathers to shine through.
For instance, using a fast shutter speed can freeze the motion of birds in flight, eliminating motion blur and resulting in crisp, sharp images. On the contrary, incorrect exposure settings can lead to noise and loss of detail, detracting from the overall quality of your photograph.
You ll encounter various exposure-related challenges, especially in dynamic environments like wetlands or forests, where lighting conditions can change dramatically.
If you re shooting a brightly colored bird against a sunlit backdrop, you might need to adjust settings to prevent overexposure while still capturing subtle details in the shadows. Conversely, when photographing birds in low-light conditions during dawn or dusk, you may need to raise your ISO setting, but be cautious; going too high can introduce unwanted graininess.
Mastering the balance between aperture, shutter speed, and ISO is crucial for anyone serious about bird photography. This delicate interplay of exposure settings directly influences the final outcome, affecting both the vibrancy of colors and the overall sharpness of your images.
Don t miss out on the chance to capture stunning images of birds! Grab your camera, head out into nature, and start capturing those breathtaking bird moments today!
Factors Affecting Exposure in Bird Photography
Several factors profoundly influence exposure in bird photography, such as lighting conditions, subject movement, and the specific camera settings you choose to use. Understanding focal length in bird photography and how these elements interact helps you make informed decisions for achieving optimal exposure. This is important whether you’re capturing images in bright sunlight or dealing with low-light situations.
For example, different lighting conditions might require you to adjust your camera settings or use back-button autofocus to keep up with fast-moving birds. Pay attention to each factor; they can make or break your shot!
Lighting Conditions
Lighting conditions are among the most critical elements in bird photography. They significantly impact both exposure adjustments and the overall quality of your images.
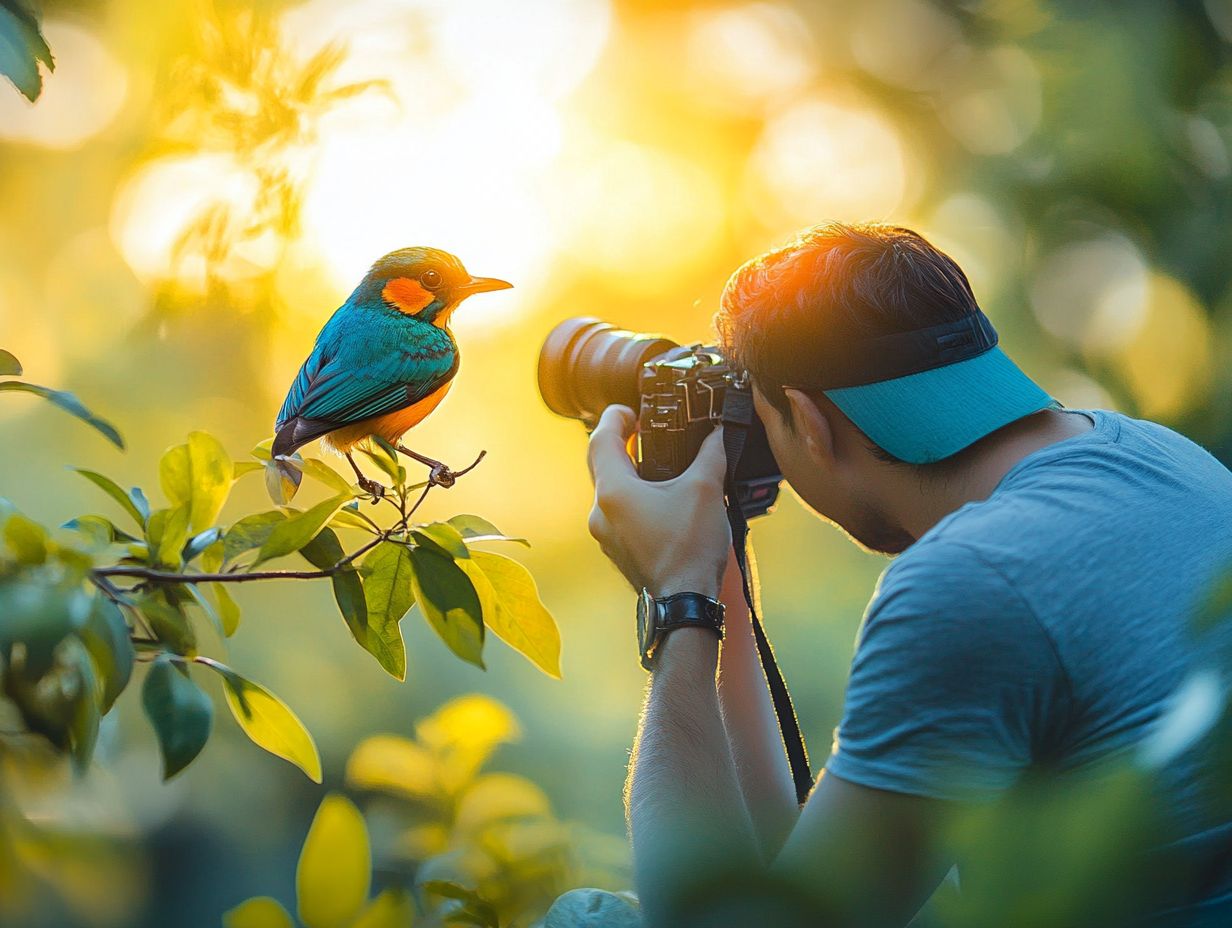
As a skilled photographer, you know that different times of day present unique challenges and opportunities. For example, during the early morning or late afternoon, the soft, warm light of the golden hour can create stunning images filled with rich colors and gentle shadows. This enhances the intricate details of your subject.
Conversely, the harsh midday sun can create undesirable contrasts and deep shadows. Lower the ISO and narrow the aperture to preserve highlights. By utilizing spot metering, you can ensure precise exposure readings, especially in dynamic lighting where the bird’s plumage might vary dramatically.
Mastering these adjustments not only elevates your immediate shots but also enhances the overall quality of your bird photography portfolio.
Subject Movement
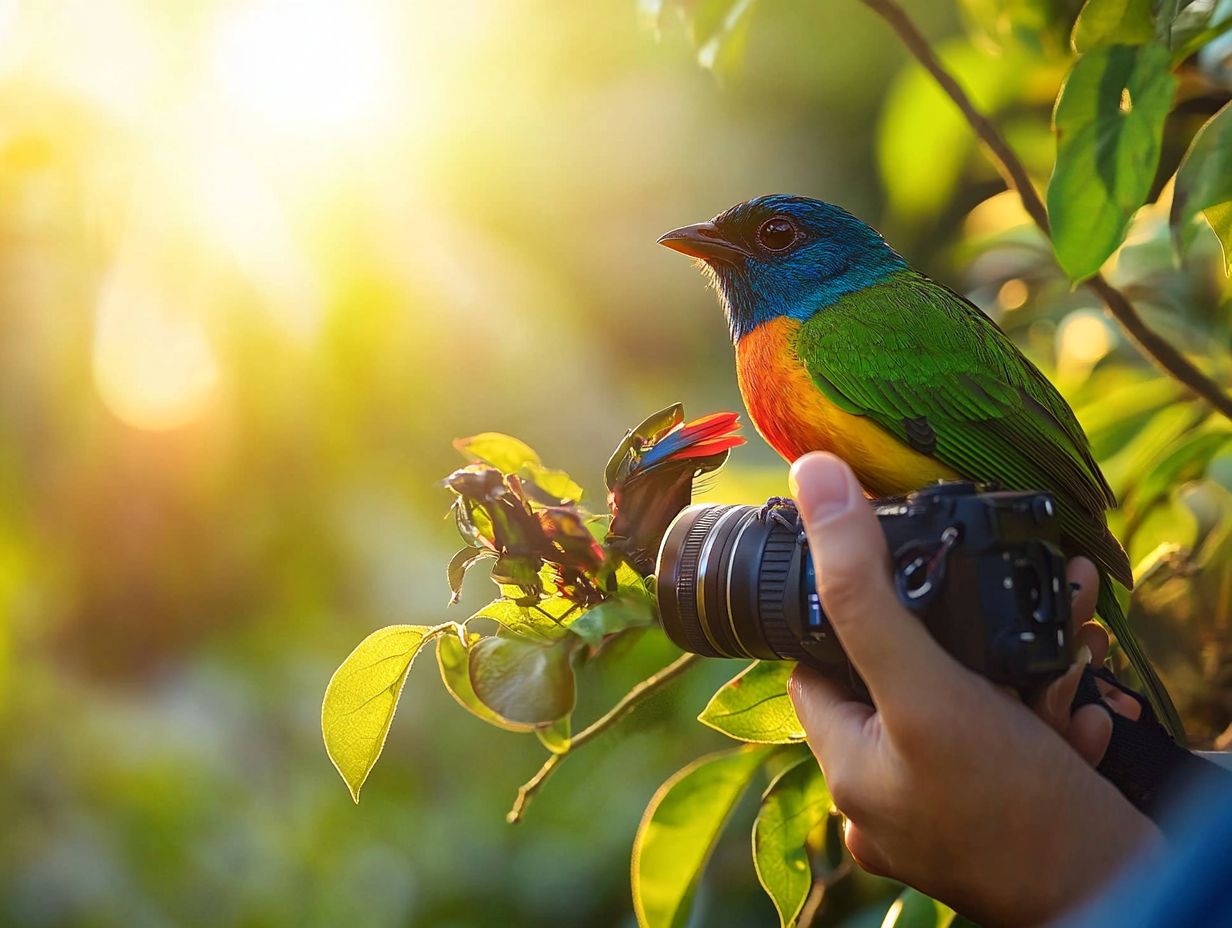
Subject movement is a crucial element to consider in bird photography. When capturing birds in flight, having a solid grasp of camera settings and their movement patterns is essential.
You need to use a fast shutter speed to freeze dynamic motion and avoid any unwanted blur, especially with species known for their quick flights or unpredictable actions. Continuous autofocus will be your best friend, keeping the focus locked on the bird as it moves through its surroundings.
Getting familiar with the birds’ behavior can provide valuable insight into their movements, helping you anticipate actions like take-offs and landings. Practice shooting in various lighting conditions and experiment with different ISO levels to achieve that perfect exposure.
Don t underestimate the power of burst mode; it allows you to capture multiple frames quickly, ensuring you don t miss that decisive moment. Being aware of local habitats and when birds are most active will enhance your chances of success, making each photographic outing that much more rewarding.
Camera Settings
The choice of camera settings is fundamental to achieving the desired results in bird photography. Mastering manual mode or camera settings can truly elevate your work. You need to be skilled at adjusting crucial settings like shutter speed and ISO to manage image brightness and exposure precisely.
Using an electronic viewfinder (EVF) offers real-time feedback. It allows you to see how different settings will impact the final image. This enables you to make informed adjustments on the fly.
Take manual mode, for instance. It gives you complete control over exposure, essential when capturing fast-moving subjects like birds in flight. By setting a high shutter speed typically around 1/1000th of a second or faster you can effectively freeze motion and ensure your images are crisp and clear.
If you opt for camera settings that allow for aperture control, you can manipulate depth of field to beautifully blur the background while keeping the subject in sharp detail.
The EVF enhances this entire experience, providing a crystal-clear preview of how varying apertures and exposures will affect your shot. This makes it easier for you to achieve that perfect balance between light and sharpness, resulting in stunning images that truly capture the essence of your subject.
Get out there, experiment, and capture those breathtaking moments!
Techniques for Achieving Proper Exposure
Achieving the ideal exposure in bird photography requires a mastery of techniques that elevate the quality of your images. By utilizing various Metering Modes, you can accurately assess light conditions and implement necessary adjustments to how light or dark your photos look. This ensures your highlights remain pristine while your shadows are harmoniously balanced.
Bracketing offers an extra layer of security. This technique allows you to capture multiple exposures of the same scene, guaranteeing that you nail the optimal settings. Learn to use highlight alerts for quick adjustments and effectively use the exposure meter to make swift and precise changes, enhancing your overall photographic experience.
Metering Modes
Metering Modes are critical tools in bird photography. They help you determine the ideal exposure based on the scene’s lighting.
In addition to spot metering, evaluative metering assesses the light across the entire frame. It often delivers a balanced exposure, making it particularly effective for general bird photography in varied lighting conditions. This mode ensures you preserve details in both shadows and highlights.
Center-weighted metering focuses primarily on the exposure reading from the center of the frame. This is an excellent choice when your subject is predominantly centered. By selecting the right metering mode, you can navigate challenging lighting situations confidently, resulting in stunning images that boast accurate exposure and enhanced overall quality.
Exposure Compensation
Exposure compensation is an invaluable tool that enables you to manually fine-tune exposure settings. This is especially useful in tricky lighting conditions. By leveraging the overexposure indicator and highlight alerts, you can monitor your images closely, making adjustments to safeguard against lost details in bright areas.
This feature is crucial in bird photography, where lighting can shift suddenly. Fine-tuning your exposure can significantly enhance your final shots. Have you ever missed a shot because the lighting changed suddenly?
For instance, when capturing a bird soaring against a brilliant sky, relying solely on your camera s automatic settings might wash out the subject. Applying positive exposure compensation can help restore the detail and color you seek.
During that magical golden hour when the sun hangs low, you might need to dial in some negative compensation to counter excessive brightness. To maximize your results, pay close attention to your camera’s histogram and highlight warnings. These invaluable tools will guide you in making informed adjustments, ensuring each shot is striking and true to life.
Bracketing
Bracketing is an invaluable technique in bird photography. It allows you to capture multiple shots of the same subject at different exposure levels, ensuring you get the best possible image.
By adjusting the exposure settings for each shot, you can achieve varying degrees of brightness. This enables you to select the most balanced and aesthetically pleasing photograph, especially in challenging lighting conditions or high-contrast scenes.
Consider photographing a bird against a brilliant sky; a single exposure might render the subject too dark. By employing bracketing, you can take several images one perfectly exposed for the bird, another for the sky, and a third to harmonize the two.
This technique creates a comprehensive set of images that preserves the nuances in feather detail while preventing any washout in the background. The benefits of this approach go beyond mere exposure correction; it enhances the depth and richness of your final photograph, allowing the natural beauty of your avian subjects to shine even in less-than-ideal lighting conditions.
Common Exposure Mistakes in Bird Photography
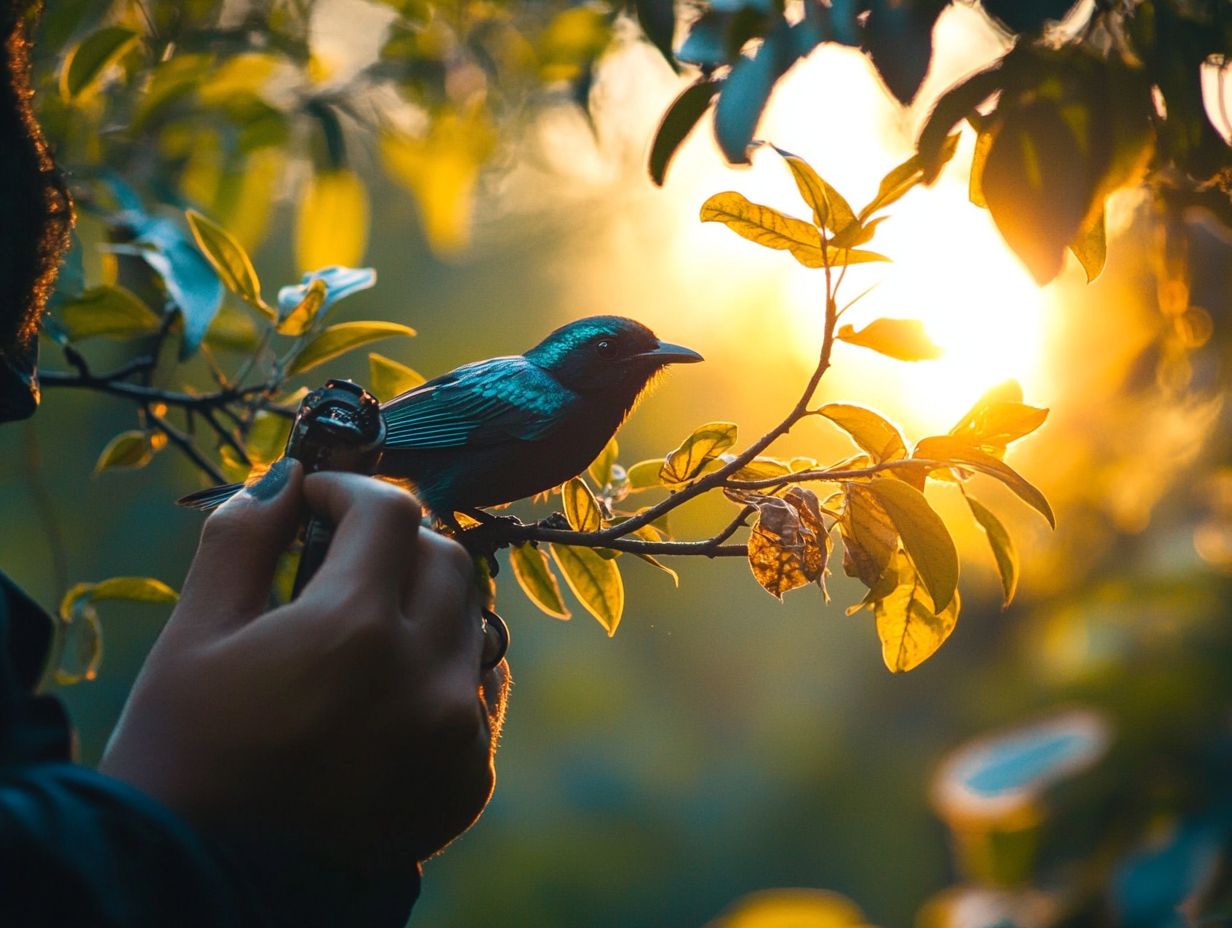
Common exposure mistakes in bird photography, like overexposure and underexposure, can greatly diminish the quality of your images. Recognizing these pitfalls and knowing how to correct them is crucial for achieving sharp photographs that genuinely reflect your subject.
Stay alert by consistently evaluating your exposure settings and making necessary adjustments. This diligence ensures that your photographs capture the true colors and intricate details of the birds you re photographing, elevating your work to new heights.
Overexposure and Underexposure
Overexposure and underexposure are two common pitfalls in bird photography that can undermine the quality of your images. Overexposure happens when too much light strikes the sensor, causing bright areas to lose detail. Conversely, underexposure results from insufficient light, leaving you with dark images that lack clarity. Use your exposure meter and highlight alerts to swiftly identify and rectify these issues, ensuring your photographs achieve their utmost quality.
Understanding the subtleties of lighting conditions is essential for beautifully capturing avian subjects. Factors like time of day, weather, and the surrounding environment can greatly affect exposure levels. For example, shooting in the harsh midday sun can easily lead to overexposure. In contrast, the gentle light of early mornings or late afternoons is often more flattering. Adjust your camera settings like aperture, shutter speed, and ISO appropriately to navigate these challenges effectively.
Post-processing tools in editing software can further enhance your images by fine-tuning brightness, contrast, and shadows. This gives you greater control over the final result. Striking a balance between exposure and detail is key to elevating your bird photography to new heights.
Troubleshooting Exposure Issues
Troubleshooting exposure issues in bird photography is an essential skill to master. This ability allows you to adapt quickly to shifting conditions and guarantee remarkable results.
Hone your understanding of how to adjust settings like aperture, shutter speed, and ISO to manage exposure with finesse based on your shooting environment. Being well-acquainted with various camera modes helps you select the most suitable settings for specific scenarios, significantly increasing your chances of capturing breathtaking images.
Adjusting Settings for Different Scenarios
Adjusting your settings for different scenarios is vital in bird photography. Varying light conditions and subject behaviors demand tailored approaches for achieving optimal exposure. In bright environments, using a fast shutter speed along with a lower ISO can help you capture sharp images without the risk of overexposure.
In low-light settings, open your aperture wider and increase the ISO, while staying focused on the bird’s behavior and movements. Being adaptable is your secret weapon for capturing stunning images!
When shooting during the golden hour, the warmth of the sunlight may call for a shift in your white balance settings to enhance those golden hues and avoid any pesky color casts. If you’re photographing birds against a bright sky, employing spot metering will ensure your subjects are well-exposed, preventing them from turning into mere silhouettes.
Every scenario presents unique challenges. Mastering these adjustments is essential for creating truly stunning bird photography. Don t miss your chance to capture that perfect shot!
Post-Processing Techniques
Post-processing techniques are essential for refining your bird photographs. They allow you to enhance details and make necessary exposure adjustments from your shooting sessions.
Your skills in image editing can significantly reduce noise, especially in images captured at higher ISO settings. This ensures that your final photograph is both sharp and visually captivating.
Adjusting brightness, contrast, and colors can elevate your images. This helps achieve a professional look.
Using software like Adobe Lightroom or Photoshop expands your editing options. These programs provide advanced tools such as graduated filters and brushes, allowing you to selectively enhance specific areas and direct the viewer’s attention.
Techniques like sharpening edges and applying noise reduction can reveal intricate details of feathers. Correcting color balance ensures the birds natural hues shine through vividly.
Mastering the balance of shadows and highlights can dramatically enhance the mood of your images, creating excitement and allure in the final presentation.
Ultimately, mastering post-processing transforms your captured moments into stunning artworks.
Try these techniques today to see how your bird photos can shine!
Frequently Asked Questions
What is exposure in bird photography?
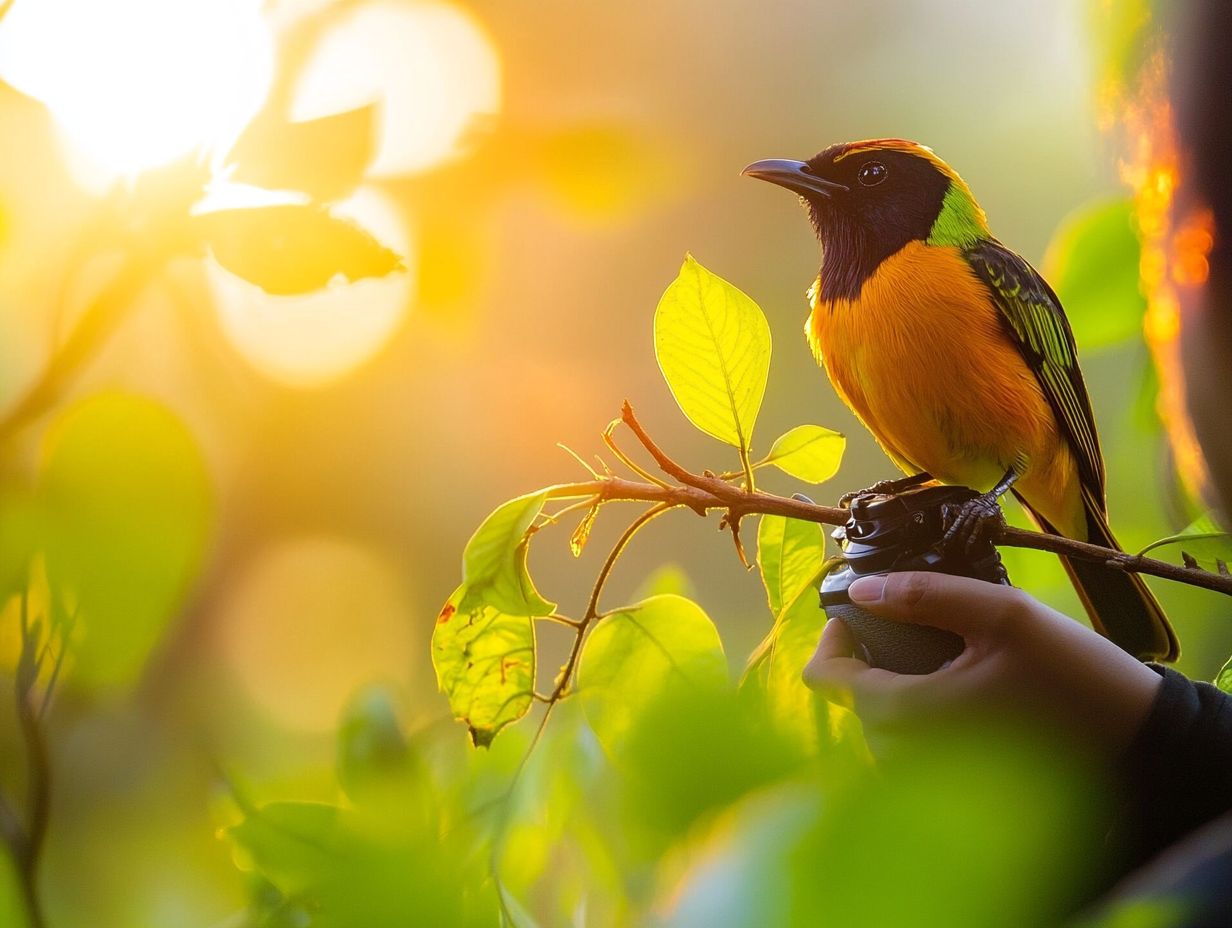
Exposure is the light that hits your camera sensor. It s crucial for clear, vibrant bird photos.
How does understanding exposure help in bird photography?
Understanding exposure allows you to adjust your camera settings for the desired brightness and contrast in your bird photographs. Additionally, understanding ISO for bird photography brings out fine details and colors, resulting in more visually appealing images.
What are the key elements of exposure in bird photography?
The key elements are aperture, shutter speed, and ISO. These settings work together to control how much light enters the camera and determine the overall exposure.
How does aperture affect exposure in bird photography?
Aperture is the opening in the lens that controls how much light enters. A wider opening lets in more light and blurs the background, making your subject stand out.
A smaller aperture allows less light and creates a wider depth of field, impacting your photographs’ depth.
What is the role of shutter speed in bird photography and how does it relate to image brightness?
Shutter speed controls how long the camera’s shutter is open to let light in. A faster shutter speed captures birds in motion, while a slower speed is ideal for still birds.
Using a fast enough shutter speed prevents motion blur, especially in challenging light conditions.
How does ISO affect exposure in bird photography?
ISO refers to the camera’s sensitivity to light. A higher ISO allows for faster shutter speeds in low light but increases noise in the image.
For bird photography, it s best to use the lowest ISO possible to maintain image quality while utilizing camera modes like manual mode.

