Best Practices for Editing Bird Photos
Editing bird photos can elevate a good shot into a stunning masterpiece. It s essential to showcase the beauty of your avian subjects. With the right tools and software, your images can truly shine.
This guide will walk you through everything you need to know, from basic techniques like adjusting exposure and colors to advanced methods for enhancing intricate details. You’ll also discover common mistakes to avoid, ensuring that your bird photography reaches its full potential.
Contents
- Key Takeaways:
- Tools and Software for Editing
- Basic Editing Techniques
- Advanced Editing Techniques
- Tips for Editing Specific Types of Bird Photos
- Common Mistakes to Avoid
- Over-editing and Other Pitfalls
- Frequently Asked Questions
- What are the best practices for editing bird photos?
- Why is adjusting exposure important when editing bird photos?
- What is selective editing and how can it improve my bird photos?
- How can I make my bird photos stand out using editing techniques?
- What are some common mistakes to avoid when editing bird photos?
- Is it okay to edit bird photos heavily?
Key Takeaways:
- Good editing can enhance the beauty and impact of bird photos.
- Popular software such as Photoshop and Lightroom offer a range of tools for editing.
- Basic techniques like adjusting exposure and sharpening can greatly improve a photo’s quality.
Why is Editing Important for Bird Photos?
Editing is absolutely essential for your bird photos, as it enables you to enhance the natural beauty of your subjects. For tips on achieving this, check out field notes on bird photography. This ensures your images resonate with audiences and capture the intricate details that often go unnoticed.
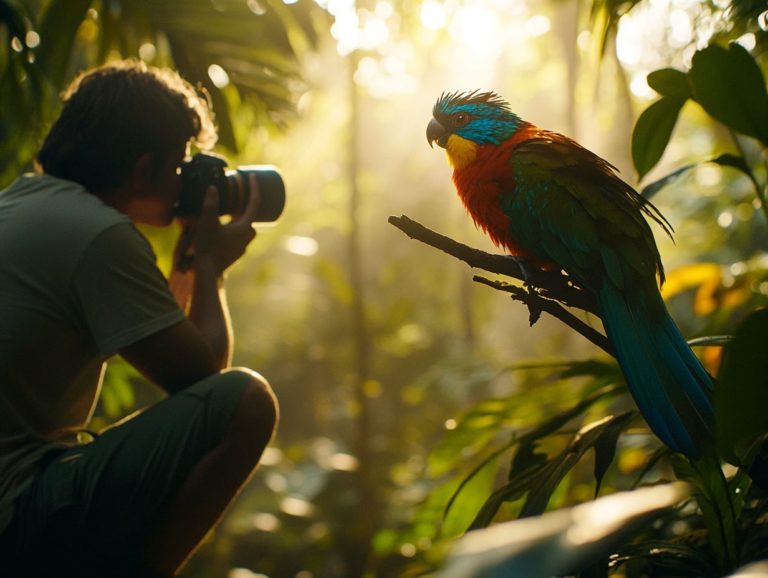
In bird photography, where you must seize fleeting moments with precision, effective editing is crucial. It allows you to highlight vibrant colors, adjust exposure, and showcase the textures of feathers, as well as the grace and elegance of birds like the Great Egret and Black-capped Vireo. For tips on capturing these moments, check out our guide on how to create stunning bird portraits.
Using advanced editing tools can transform your RAW images into stunning representations worthy of prestigious competitions like the Audubon Photography Awards.
These editing skills can wow your viewers and make your images unforgettable! Not only does dedicated editing enrich your portfolio, giving you a competitive edge in a crowded field, but it also elevates the viewer s experience, making your images more engaging and lifelike.
Influential wildlife photographers, such as Melissa Groo, emphasize the significance of these techniques, showcasing how skillful enhancement can turn a simple photograph into a true work of art. By carefully refining your images, you can evoke emotions and convey stories that draw audiences closer to the delicate balance of nature.
Ultimately, dedicated editing breathes new life into bird photography, transforming it into a medium that captures the wonder of avian life and preserves its essence for generations to come.
Tools and Software for Editing
In the world of bird photography, having the right editing tools and software can truly elevate the quality of your final images. These tools enable you to adjust colors and details skillfully.
Adobe Lightroom stands out as a top choice, providing a versatile platform for making precise adjustments to your RAW images. With Lightroom, you can achieve optimal vibrancy and clarity while harnessing AI tools that enhance your editing capabilities, allowing you to bring your artistic vision to life.
Overview of Popular Editing Programs
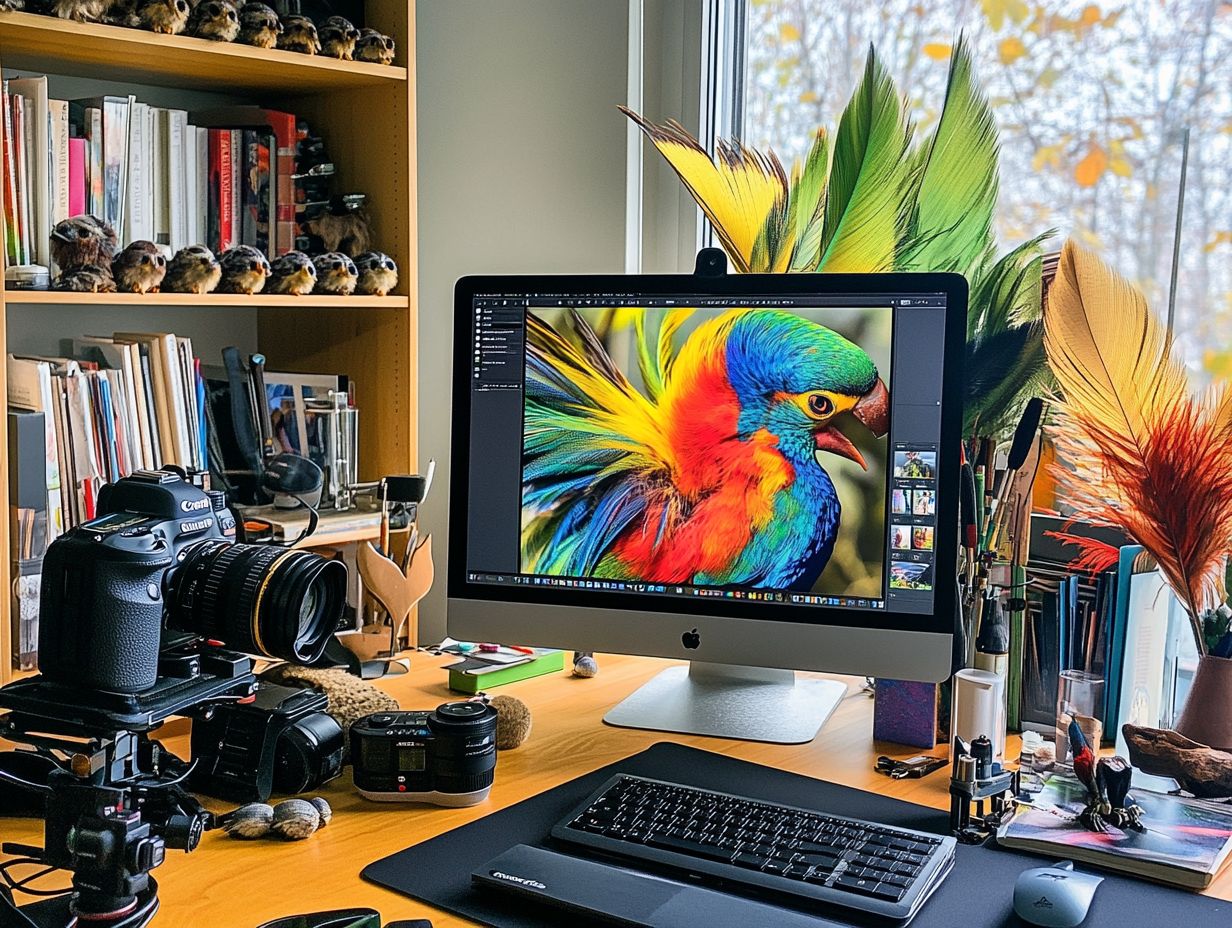
Popular editing programs like Adobe Lightroom and Photoshop have revolutionized the workflows of wildlife photographers. They offer powerful tools tailored to meet a spectrum of editing needs, from simple tweaks to advanced adjustments. These applications boast functionalities including exposure contrast adjustments, color correction, sharpening techniques, and AI-assisted enhancements that streamline the editing process.
Lightroom’s targeted adjustment tool is a game changer for bird photographers, enabling precise editing of specific areas. For instance, you can enhance the vibrancy of plumage without disturbing the background. The program also offers excellent noise reduction features essential for maintaining image quality, especially in low-light conditions.
On the other hand, Photoshop shines in layer manipulation and advanced retouching options, making it your go-to for composite imagery and intricate edits. With tools like the healing brush and various blending modes, you can refine your images seamlessly, ensuring that every feather and hue pops beautifully.
Dive into your editing software today and unleash the true potential of your bird photography!
Basic Editing Techniques
Mastering basic editing techniques is essential for any bird photographer aspiring to elevate their craft. These skills will elevate your images to a whole new level!
Key techniques include:
- Adjusting exposure and contrast to refine lighting,
- Modifying vibrancy and saturation to enrich your colors,
- Fine-tuning white balance for accurate color representation.
Following cropping guidelines emphasizes your subject s visual impact while preserving compositional integrity. With these skills in your toolkit, you can truly transform your photography into something remarkable.
Adjusting Exposure and Colors
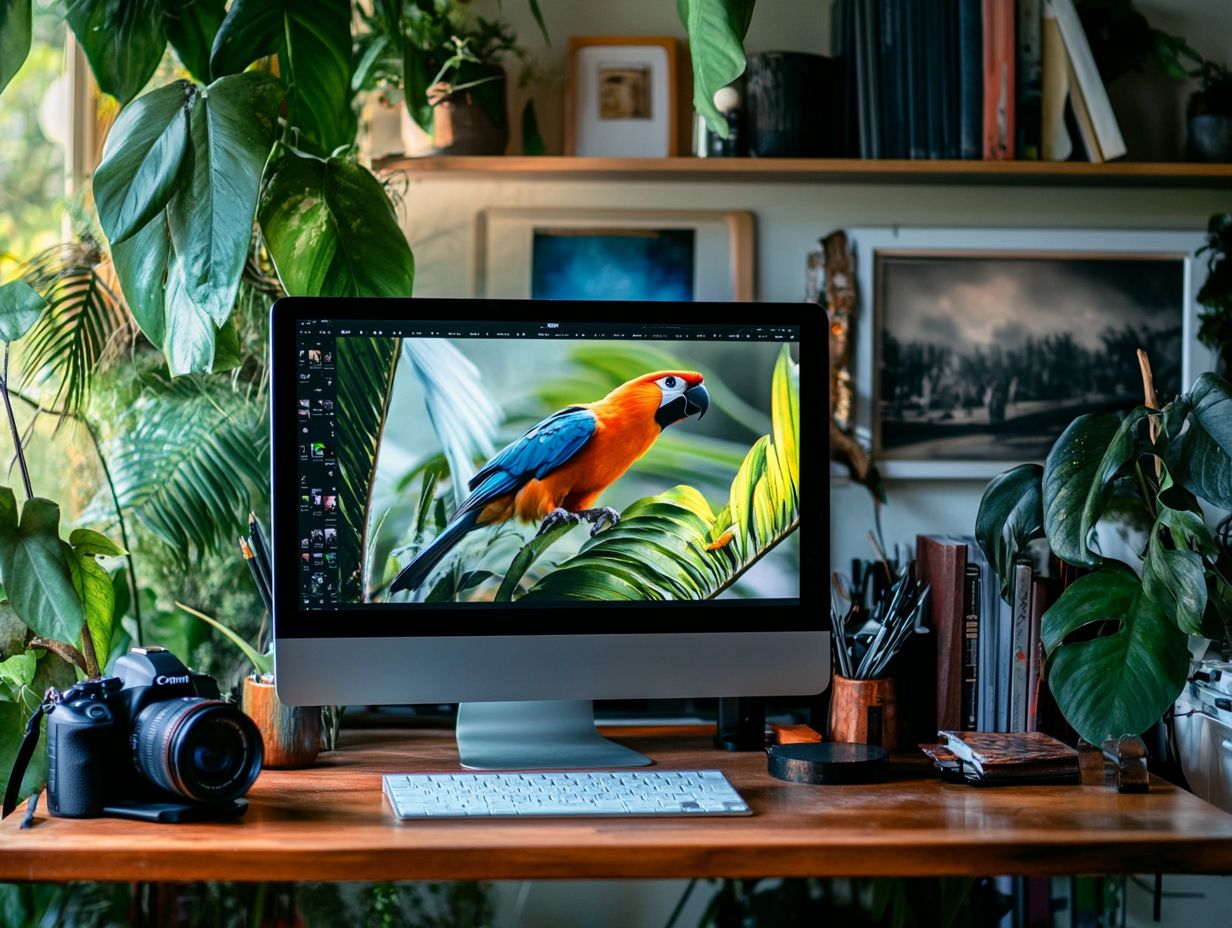
Adjusting exposure and colors is essential in editing photos, especially in bird photography, where natural light dramatically influences the final image. You can enhance clarity and depth by making precise exposure adjustments.
Use contrast to better define your subject and modify vibrancy and saturation to showcase the vivid colors of birds in their natural habitats. To achieve the best results, utilizing software tools like Adobe Lightroom or Photoshop is invaluable.
These platforms enable you to manipulate exposure values through intuitive sliders, allowing you to correct those pesky overexposed or underexposed shots. For example, lowering the highlights can retrieve details in brighter areas, while lifting shadows can brighten darker feathers.
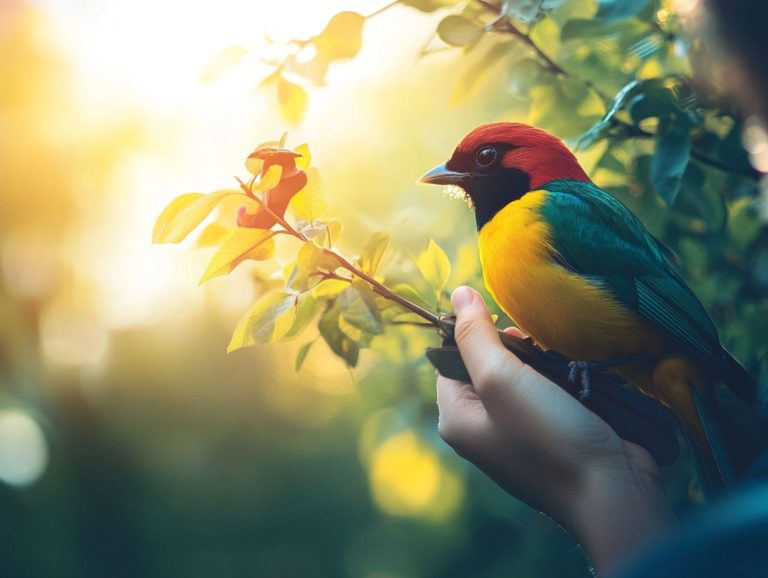
Color correction tools can significantly elevate the hues of the birds. If a once-vibrant bluebird appears lackluster, adjusting the color balance using the HSL (Hue, Saturation, Luminance) panel in Lightroom can effectively restore its brilliance.
By employing these techniques, you can transform your images into breathtaking representations of avian beauty.
Sharpening and Noise Reduction
Sharpening and noise reduction are critical editing techniques that elevate the quality of your bird photographs, transforming them into striking visual masterpieces. Ready to make those feathers pop? Let’s dive into sharpening!
By implementing effective sharpening methods, you can significantly enhance the details of feathers and textures. Leverage tools like the AI Denoise tool to minimize unwanted noise in images taken under challenging lighting conditions.
These techniques not only make your subjects pop but also impart a more professional aesthetic. When applying sharpening, tools within software like Adobe Lightroom or Photoshop can effectively adjust clarity and enhance fine details.
Noise reduction becomes especially crucial when shooting in low light, where graininess can detract from image quality. Sophisticated software like Topaz Denoise AI offers advanced options for refining your images, preserving essential textures while smoothing out visual artifacts.
Begin with subtle adjustments, gradually increasing the intensity to avoid harsh results. This approach allows for a natural, lifelike representation of the bird in its habitat.
Advanced Editing Techniques
Want to take your bird photography to the next level? Let’s explore advanced editing techniques that can transform your shots!
Advanced editing techniques are essential for refining your bird photographs, allowing you to achieve a polished, professional look. Additionally, following tips for photographing rare bird species can guide you in capturing stunning images. By applying careful adjustments, you can significantly enhance the overall appeal of your images.
Techniques like background masking enable you to focus enhancements on the subject. Improving texture clarity and addressing color fringing helps eliminate color fringing. This approach creates more impactful photos by allowing you to make precise contrast adjustments that truly elevate your work.
Removing Distractions and Enhancing Details
Removing distractions and enhancing details are essential elements of advanced photo editing. These techniques can significantly enhance the viewer’s focus on the subject, especially in bird photography.
Techniques like background masking allow you to isolate the bird from its surroundings. This showcases intricate feather patterns and vibrant colors crucial for creating visually stunning images.
By carefully applying this technique, you can eliminate any competing elements that might divert attention. This ensures the bird remains the star of the composition. Such attention grabs the viewer’s attention and enhances your photograph’s aesthetic.
Adjusting the brightness and contrast of the background can create a more harmonious balance, beautifully complementing the subject’s vivid features. Mastering these techniques will help you capture the stunning beauty of birds in action!
Creating a Natural Look
Creating a natural look in your bird photography is essential for conveying authenticity. It involves subtle editing techniques that maintain the integrity of the scene.
To achieve this, use tools like selective sharpening and localized adjustments. These allow specific areas of your photo to stand out without overwhelming the viewer.
Balancing brightness and saturation can elevate the visual appeal without crossing into artificial territory. Being subtle can work wonders!
A well-thought-out approach to color grading the process of adjusting colors to create a specific mood can help you capture the essence of the surrounding habitat. This creates a cohesive feel that connects the subject with its natural setting.
This ultimately enhances the storytelling aspect of your photography, making each shot a true reflection of nature’s beauty.
Tips for Editing Specific Types of Bird Photos
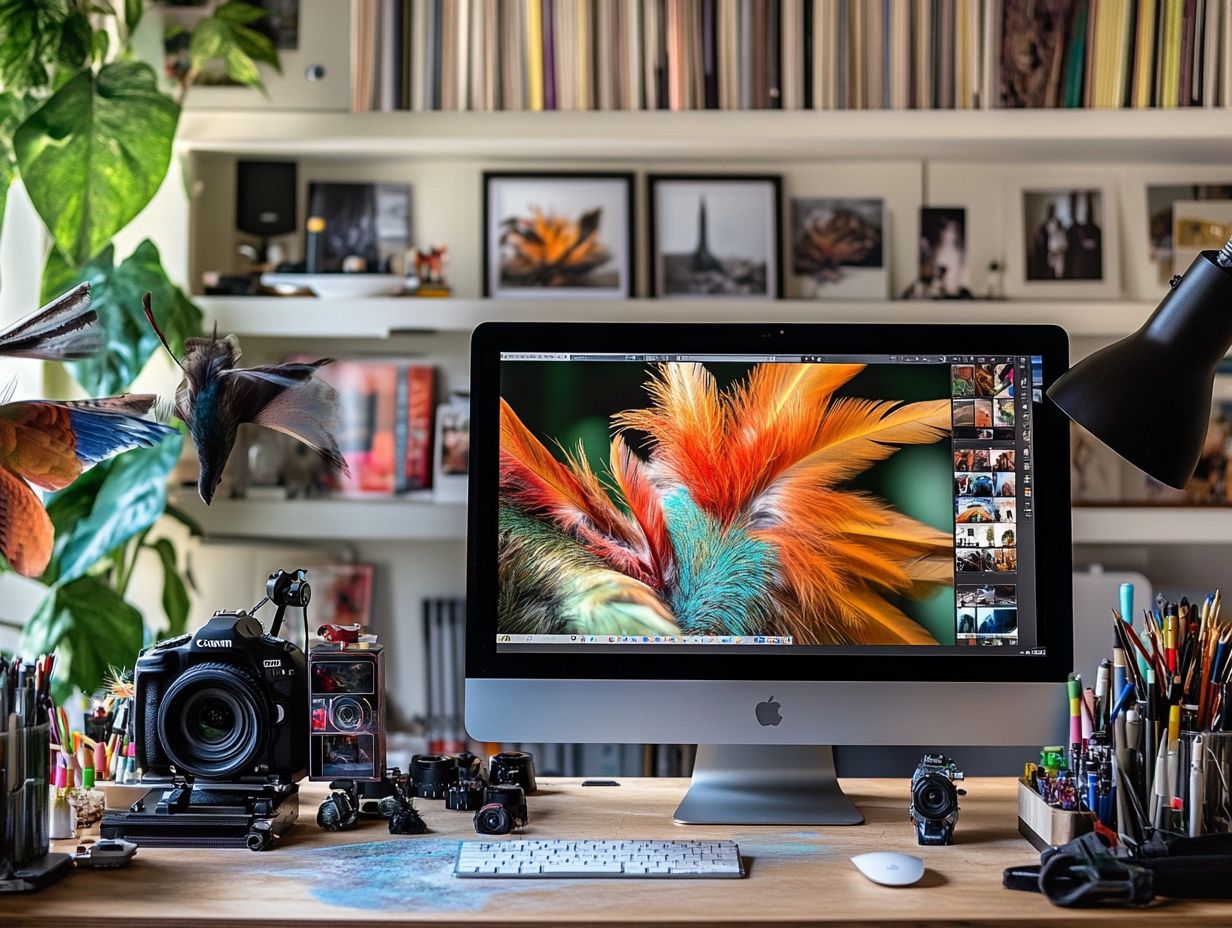
Editing bird photos can vary greatly depending on the shot type be it landscapes, portraits, or action shots. Each offers distinct challenges and opportunities for enhancement.
By grasping the unique requirements of each category, you can tailor your editing approach effectively. This ensures that the final image captures the essence of the subject while reflecting the context in which it was taken.
This thoughtful approach allows you to optimize your work and truly elevate your photography.
Landscapes, Portraits, and Action Shots
Each genre of bird photography landscapes, portraits, and action shots demands distinct editing techniques to highlight the beauty and dynamism of your subjects.
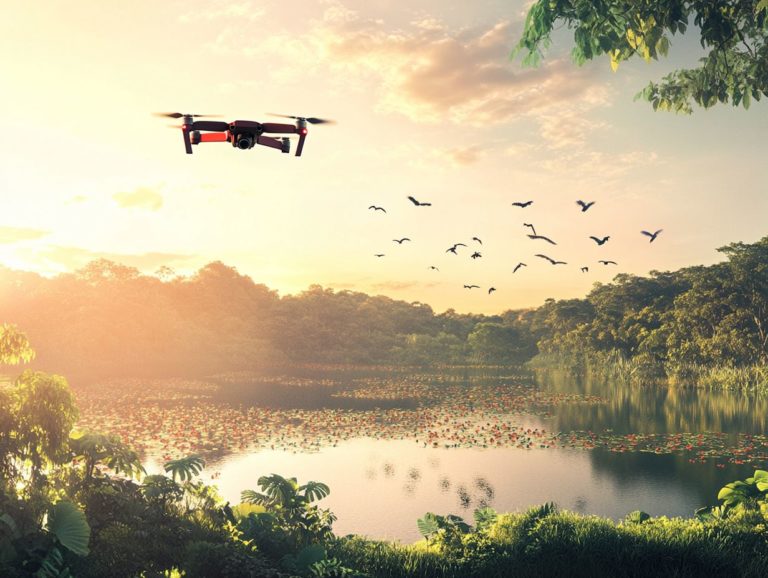
For landscapes, broader adjustments to exposure and color can effectively capture the scene’s ambiance, immersing viewers in the environment.
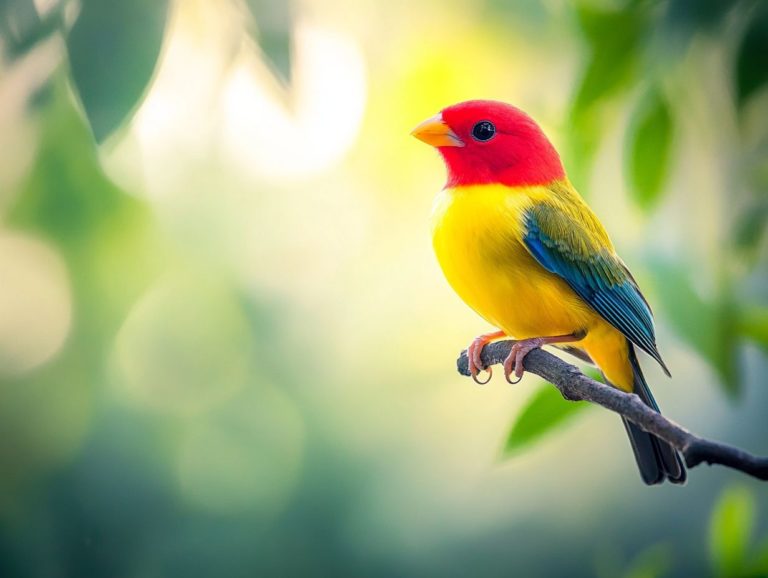
For portraits, honing in on details like texture and clarity of the bird’s feathers will bring those unique features to life.
Conversely, action shots require sharpness and vibrancy to convey movement, making your editing choices crucial for encapsulating the magic of each moment.
In landscape images, you can enhance depth and richness of colors using graduated filters. This emphasizes the harmonious interplay between the sky and surroundings.
For portraits, precise adjustments in clarity and contrast can illuminate intricate patterns of plumage. This allows each bird s features to stand out beautifully against a softly blurred background.
On the flip side, action shots thrive on high contrast and increased saturation, making those vibrant feather hues pop as the bird soars mid-flight.
By employing these tailored editing strategies, you ensure that each type of bird photography is not merely observed but deeply felt, captivating viewers with every stunning shot.
Common Mistakes to Avoid
Avoiding common mistakes in photo editing is essential for preserving the quality and authenticity of your bird photography, and using the top editing software for bird images can greatly enhance your results.
One of the most significant pitfalls is over-editing. It’s easy to unintentionally alter your images to the point where they lose their original essence.
When this occurs, the viewer’s attention shifts away from the subject instead of being drawn to it, diminishing the impact of your work.
Over-editing and Other Pitfalls
Over-editing can seriously undermine the allure of your bird photographs. This can lead to unnatural appearances that simply don’t resonate with your audience. You might fall into common traps like too much color, overly aggressive contrast adjustments, or neglecting the importance of a natural look. To avoid these pitfalls and enhance your skills, consider learning how to improve focus in bird photography. All of these can compromise the integrity of your images.
When you amp up colors to the point they look cartoonish, it not only misrepresents your subject but also distances viewers who crave authenticity. Imagine a vibrant blue jay morphing into an eye-searing electric blue; it strips away the elegance that makes it truly captivating.
To achieve a harmonious balance, focus on subtle enhancements. Rather than cranking saturation to the max, aim for a refined palette that accurately reflects the bird’s true colors. A touch of sharpening can highlight its unique features without overdoing it. Additionally, following best practices for using birding apps allows you to use editing tools that let you adjust specific parts of a photo, helping you focus on the subject while keeping the serene backdrop intact. This ultimately creates an appealing and truthful representation of nature.
Frequently Asked Questions
What are the best practices for editing bird photos?
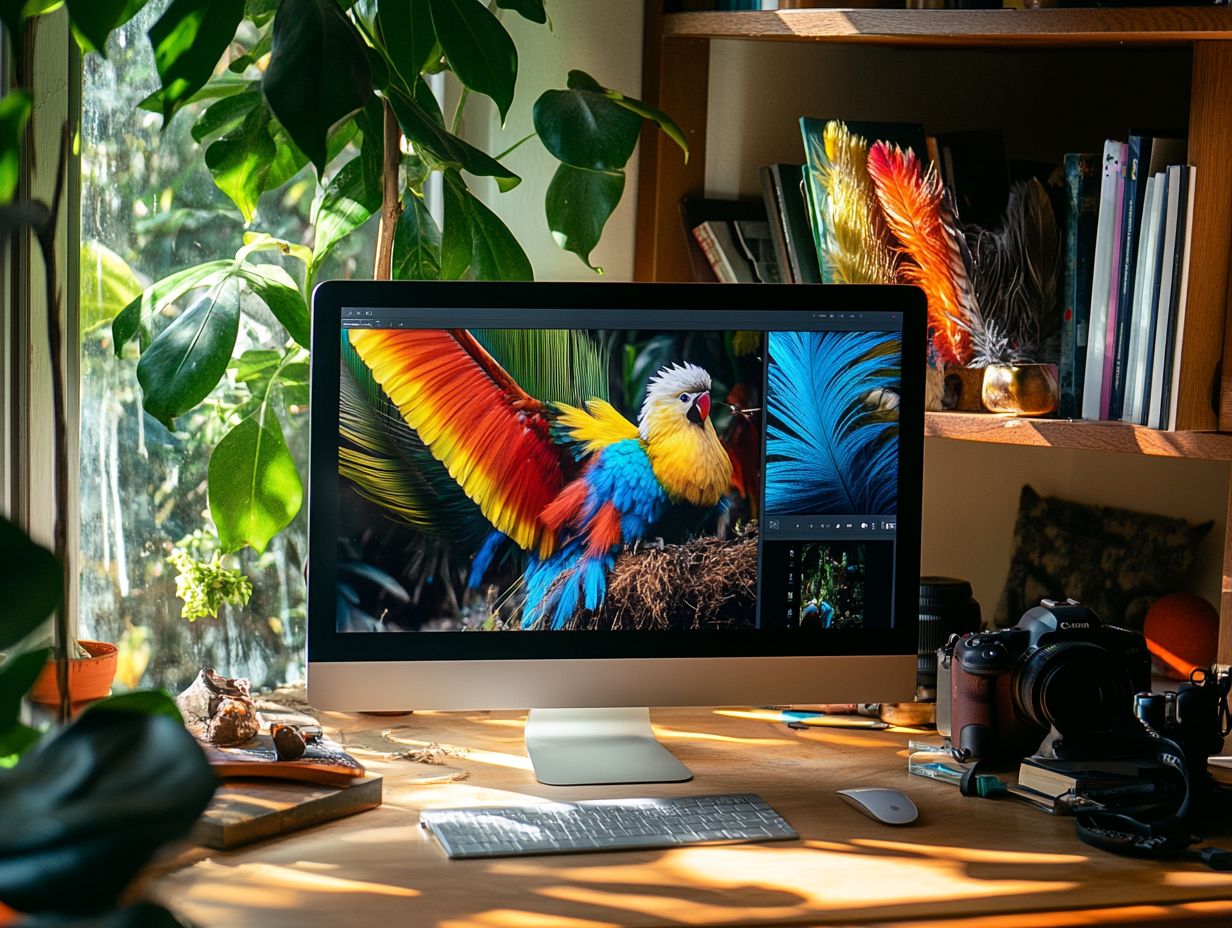
The best practices for editing bird photos include adjusting exposure and contrast, enhancing colors, using selective editing techniques, and removing distractions. To take your bird photography to the next level, consider learning how to use composition to enhance bird photos while avoiding over-editing.
Why is adjusting exposure important when editing bird photos?
Adjusting exposure helps balance the brightness and darkness of the photo, making the bird stand out and appear more vibrant. It also brings out details in the feathers and minimizes harsh lighting.
What is selective editing and how can it improve my bird photos?
Selective editing involves making targeted adjustments to specific areas of the photo instead of applying changes to the entire image. This can enhance the colors of a bird’s feathers or remove distracting elements from the background.
How can I make my bird photos stand out using editing techniques?
One way to make your bird photos stand out is by enhancing the colors of the bird’s feathers. This can be done by increasing saturation or using specific tools like the Vibrance or HSL sliders. Keep your edits subtle to avoid an unrealistic or over-edited look.
What are some common mistakes to avoid when editing bird photos?
Avoid over-sharpening, excessive color tweaks, and too many filters. For those looking to enhance their skills, understanding the basics of bird photography composition can help you keep edits subtle to maintain the natural beauty and integrity of the bird in the photo.
Is it okay to edit bird photos heavily?
Editing bird photos heavily can result in an unnatural or distorted look, which may not accurately represent the bird and its features. For those interested in capturing stunning images, learning how to get started with bird photography can help. Use editing techniques in moderation to enhance the photo without altering the bird’s appearance too drastically.
Don t wait! Start enhancing your bird photos today!

