Best Settings for Bird Photography Explained
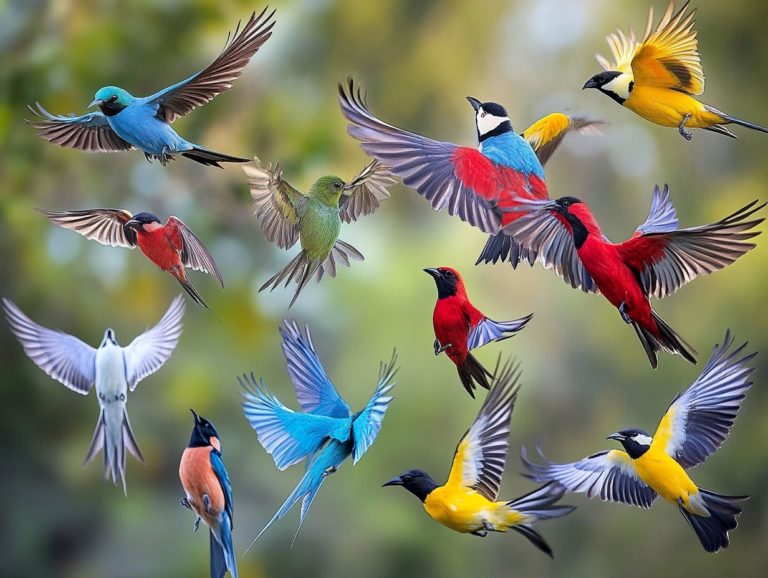
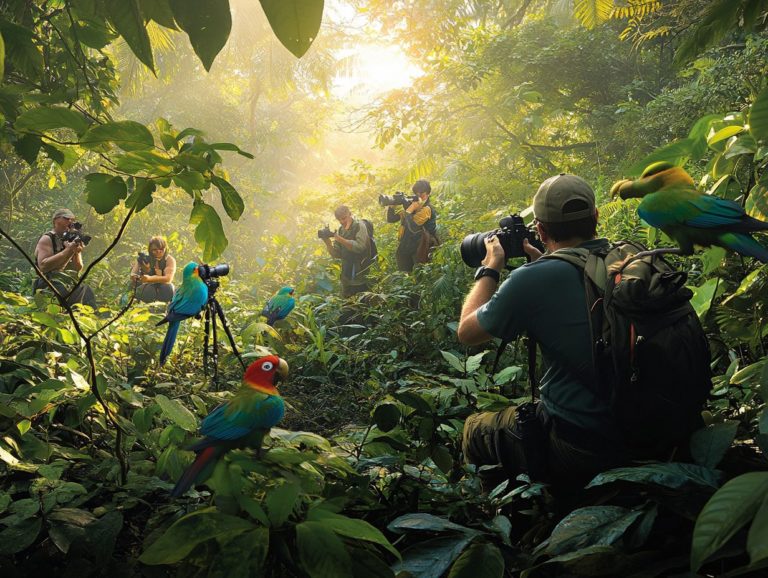
Bird photography is an exhilarating adventure that demands patience, skill, and a sharp eye for detail. Capturing the delicate flutter of a hummingbird or the majestic glide of an eagle requires mastering the right camera settings, such as exposure and focus modes.
This guide delves into essential concepts such as aperture and shutter speed, which is critical for capturing fast-moving subjects, and ISO, alongside lens selection and lighting techniques.
You’ll also discover composition strategies and invaluable tips for photographing birds in flight. Get ready to take your bird photography to new heights!
Contents
- Key Takeaways:
- Camera Settings for Bird Photography
- Lens Selection for Bird Photography
- Lighting Considerations
- Composition Techniques for Bird Photography
- Tips for Capturing Birds in Flight
- Post-Processing Tips for Bird Photography
- Frequently Asked Questions
- What are the best camera settings for bird photography?
- How do I set my camera to capture birds in flight?
- What is the ideal aperture for bird photography?
- Should I use manual mode or automatic focus for bird photography?
- What ISO settings should I use for bird photography in different light levels?
- Do I need a tripod or can I rely on proper handholding techniques for bird photography?
Key Takeaways:
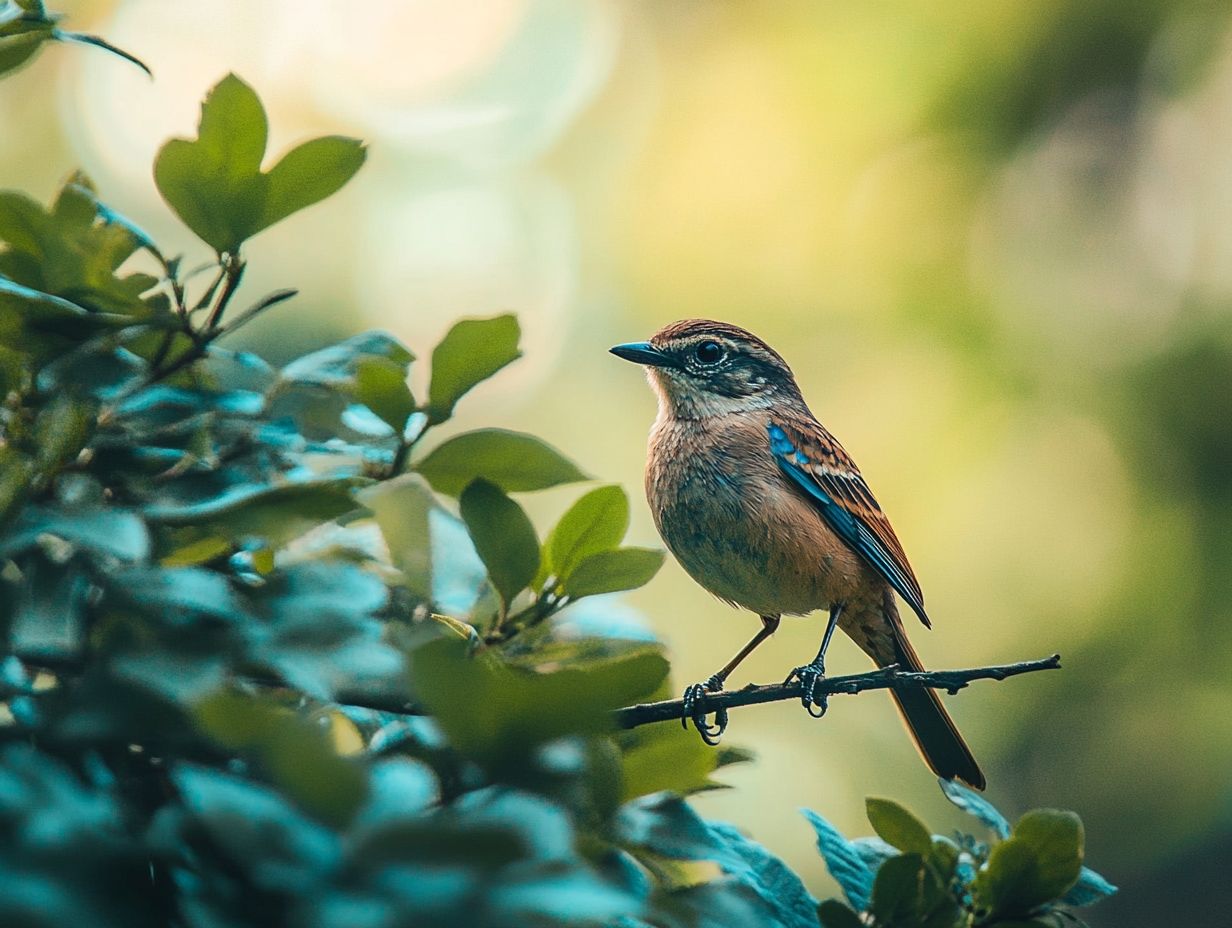
- Master the basics of aperture, shutter speed, and ISO to capture stunning bird photos.
- Choosing the right lens with the appropriate focal length is crucial to getting up close to your feathered subjects.
- Use natural and artificial lighting to add depth to your bird photography.
Camera Settings for Bird Photography
In the realm of bird photography, understanding different camera settings is crucial for capturing sharp images. Capturing a breathtaking wildlife portrait requires patience and skill. By mastering exposure modes such as aperture priority, which allows for greater control, and manual mode that enables complete control over exposure adjustments, you’ll be well-equipped to adapt to fast-moving subjects like the Far Eastern Curlew. Additionally, understanding ISO for bird photography can further enhance your shooting experience.
Adjust auto ISO settings to suit low light conditions for better results, and continuous autofocus helps you keep a bird in focus, especially its eyes. These features will significantly enhance your ability to track different bird species, allowing you to seize every critical moment with unparalleled precision.
Aperture, Shutter Speed, and ISO
In bird photography, mastering the exposure triangle—aperture, shutter speed, and ISO—is key to getting the quality images you want, especially when dealing with varying light conditions. Additionally, understanding the basics of bird photography composition can greatly enhance your shots.
When you understand how these three elements interact, you’ll significantly enhance the overall impact of your photographs. For instance, adjusting the aperture not only controls the amount of light entering your camera but also influences the depth of field. A wider aperture creates a beautifully blurred background that effectively isolates your subject, making it perfect for wildlife portraits.
Conversely, shutter speed determines how motion blur is captured; faster speeds freeze rapid movements, which is crucial for photographing fast-flying birds. Setting the ISO correctly allows you to take clear images in low-light situations, enabling you to capture sharp details without excessive grain. This approach ensures you achieve a well-exposed shot, no matter the environment.
Lens Selection for Bird Photography
Choosing the right lens for bird photography is essential for capturing breathtaking action shots and intricate wildlife portraits. Telephoto lenses often emerge as the ideal choice, thanks to their impressive focal lengths that allow you to get up close to your feathered subjects.
Choosing the Right Focal Length
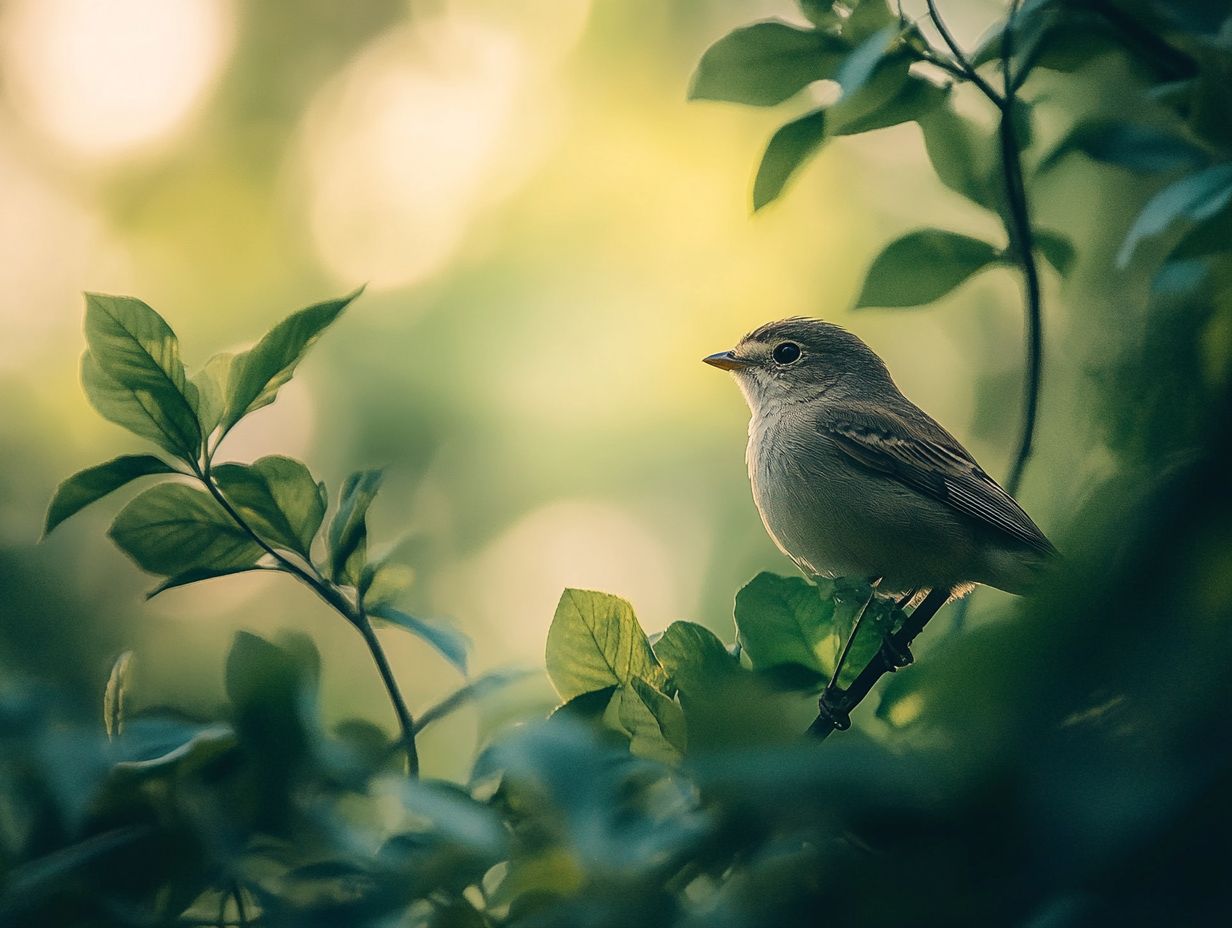
When selecting a telephoto lens for bird photography, understanding the significance of focal length can greatly enhance your ability to capture fast-moving subjects in stunning detail.
Your focal length choice determines how closely you can frame a bird and influences the overall composition of your images. Longer lenses, such as those in the 300mm to 600mm range, allow you to maintain a comfortable distance from your subjects while achieving that close-up perspective, minimizing disturbances in their natural behaviors.
However, these longer focal lengths can be heavier and more cumbersome. It’s crucial to consider factors like weight and stability. Shorter focal lengths, like 200mm, offer quicker focus adjustments and greater maneuverability but may not effectively capture distant birds.
Ultimately, understanding the target bird species, their typical behaviors, and their habitats is essential for selecting the most suitable lens for your next wildlife adventure.
Lighting Considerations
Great lighting can transform your bird photos from ordinary to breathtaking! Mastering the use of both natural and artificial light sources is essential for capturing vibrant, sharp images that reflect the beauty of your subjects.
Using Natural and Artificial Light
Using natural light effectively can elevate your bird photography, while mastering artificial light gives you the flexibility to tackle challenging conditions.
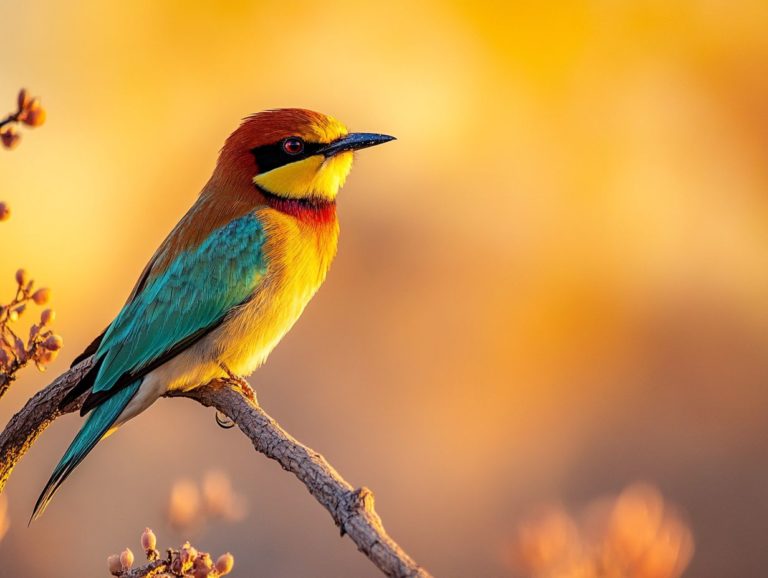
Different types of natural light offer unique advantages. The golden hour, for instance, bathes your subjects in a warm, soft glow, making feathers shimmer and colors pop for a captivating visual experience. Conversely, an overcast day diffuses sunlight, minimizing harsh shadows and allowing for more even exposure that beautifully showcases intricate details.
As an outdoor photographer, consider using artificial lighting setups like flash or reflectors to fill in shadows or highlight your subjects when the sun is strong. Adjusting your exposure settings such as lowering the ISO or choosing a higher shutter speed ensures you maintain image quality. This way, natural and artificial light can blend seamlessly for stunning results that will leave your audience in awe.
Composition Techniques for Bird Photography
Mastering effective composition techniques is key to crafting dynamic and captivating bird photography. These skills help present your subjects in their finest form, showcasing the exquisite beauty of wildlife in every shot.
Creating Dynamic and Engaging Shots
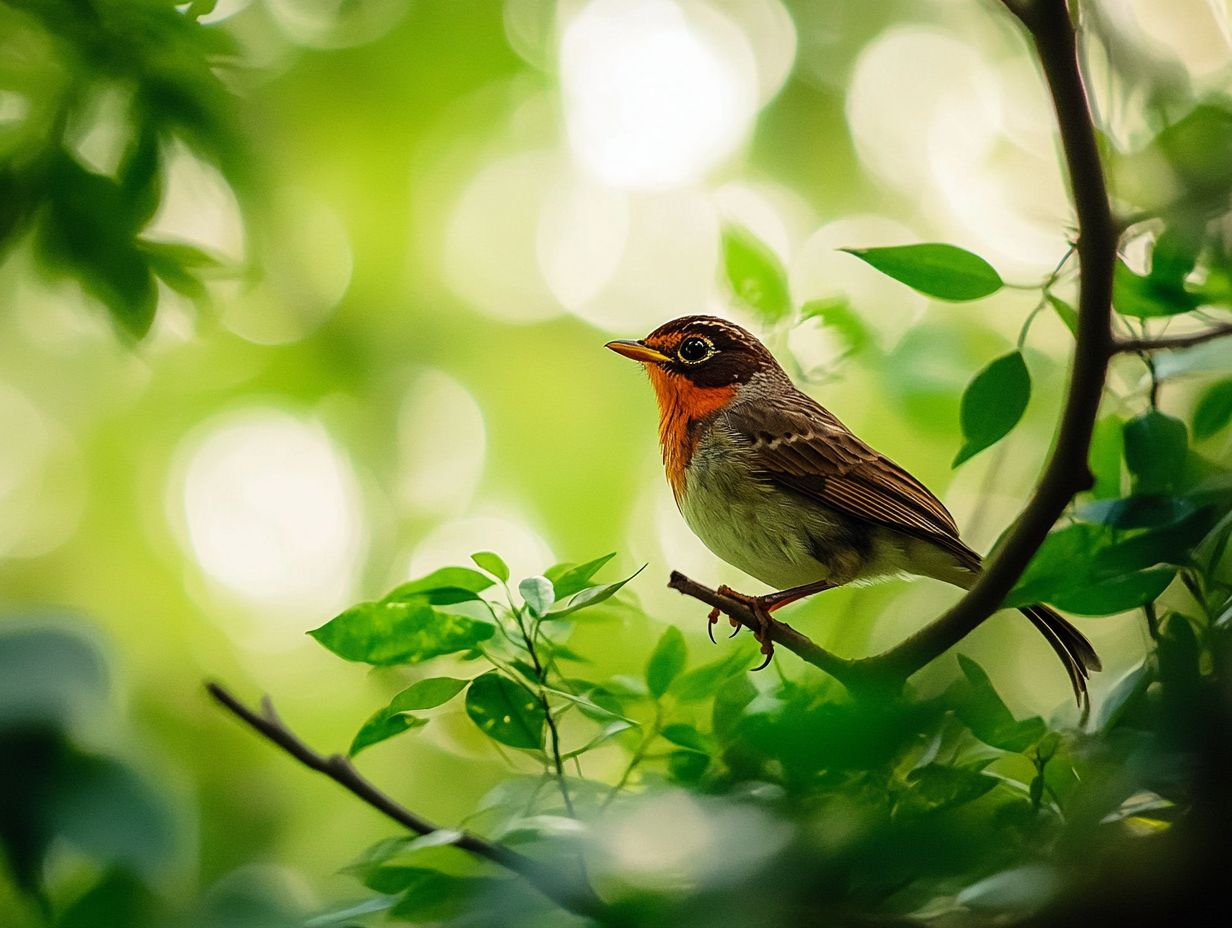
Creating dynamic and engaging shots in bird photography requires a mix of creativity, impeccable timing, and a sharp grasp of composition techniques.
Capturing fleeting moments that showcase a bird’s behavior is a rewarding challenge. It’s vital to employ strategies that enhance movement and emotion in every frame. Utilizing subject tracking techniques is essential for dynamic photography, helping you keep focus as the bird takes flight or engages in a unique activity. Back-button autofocus, which allows you to keep focus separate from the shutter button, gives you more control when tracking moving subjects.
Manipulating depth of field introduces an intriguing backdrop, drawing the viewer s attention directly to the subject. Thoughtful composition elements further enrich your narrative, transforming each shot into a vivid glimpse into the enchanting world of avian life.
Tips for Capturing Birds in Flight
Capturing birds in flight presents distinctive challenges and opportunities. Mastering advanced photography techniques is crucial for achieving breathtaking action shots that convey motion and grace.
Mastering the Art of Action Shots
Mastering the art of action shots in bird photography requires an understanding of subject tracking. Using burst mode, a camera setting that captures several images quickly, enables you to catch incredible moments of motion.
To truly capture fast-moving birds, hone your reflexes and sharpen your sense of anticipation. This skill empowers you to anticipate the bird’s next move with precision. Set your camera to a shutter speed of at least 1/2000th of a second to effectively freeze motion.
Switch your focus mode to continuous autofocus often labeled as AF-C or AI Servo. This setting keeps the subject sharp, even amid the chaotic flurry of feathers and wings. By blending these techniques with dedicated practice and keen observation, you can elevate your images to breathtaking heights.
Post-Processing Tips for Bird Photography
Post-processing is crucial in bird photography, allowing you to enhance your images through careful adjustments, whether you use RAW or JPEG files.
Employ various editing techniques to dramatically enhance the overall image quality and sharpness. This ensures that the intricate details of plumage and vibrant colors truly shine. For example, adjusting exposure can help recover shadows and revitalize highlights, ensuring every feather is crisply defined.
Color correction balances hues, especially in challenging lighting conditions. Apply noise reduction techniques to minimize graininess in low-light photos, resulting in stunningly clear and captivating images.
Watch this video for additional tips on bird photography techniques.
Frequently Asked Questions
What are the best camera settings for bird photography?
The best camera settings for bird photography depend on the type of bird, lighting conditions, and your equipment. Generally, understanding exposure for bird photography involves using a high shutter speed, wide aperture, and low ISO to yield the best photos.
How do I set my camera to capture birds in flight?
Set your camera to continuous focus mode and use a high shutter speed of at least 1/1000th of a second. Use burst mode to capture multiple shots as the bird moves.
What is the ideal aperture for bird photography?
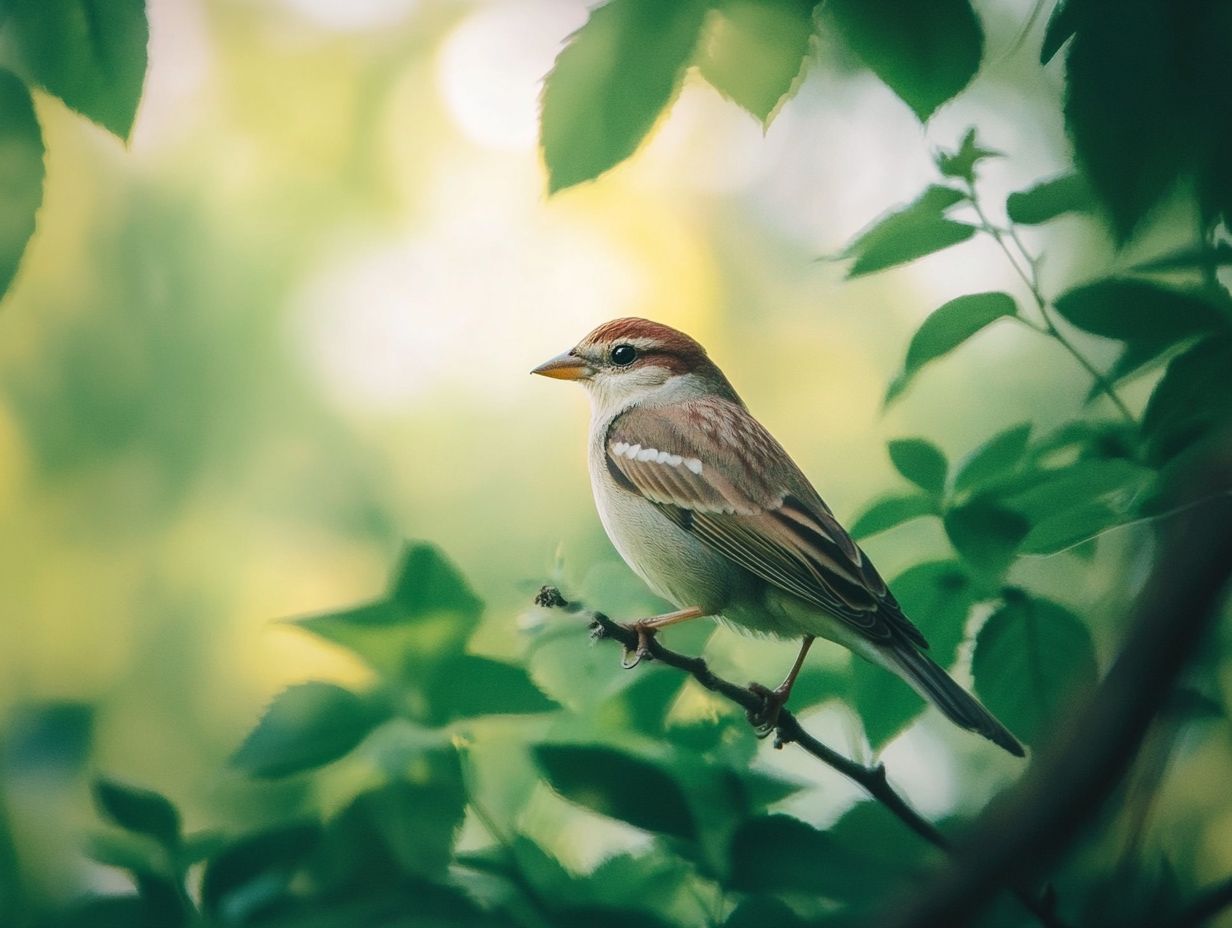
The ideal aperture is around f/5.6 to f/8. This setting provides a good balance between sharpness and depth of field, ensuring the bird is in focus while the background is blurred. For those interested in capturing stunning images, learning how to get started with bird photography can enhance your skills.
Should I use manual mode or automatic focus for bird photography?
Start with automatic focus for ease, then switch to manual focus for more control, ensuring the bird’s eye stays sharp.
What ISO settings should I use for bird photography in different light levels?
Keep your ISO as low as possible to reduce noise. Generally, an ISO of 400 or lower is recommended, but you may need to increase it in low-light situations.
Do I need a tripod or can I rely on proper handholding techniques for bird photography?
A tripod is useful, especially with a telephoto lens, but proper handholding techniques can also yield great results without one.
Share your bird photography experiences or tips in the comments below!

