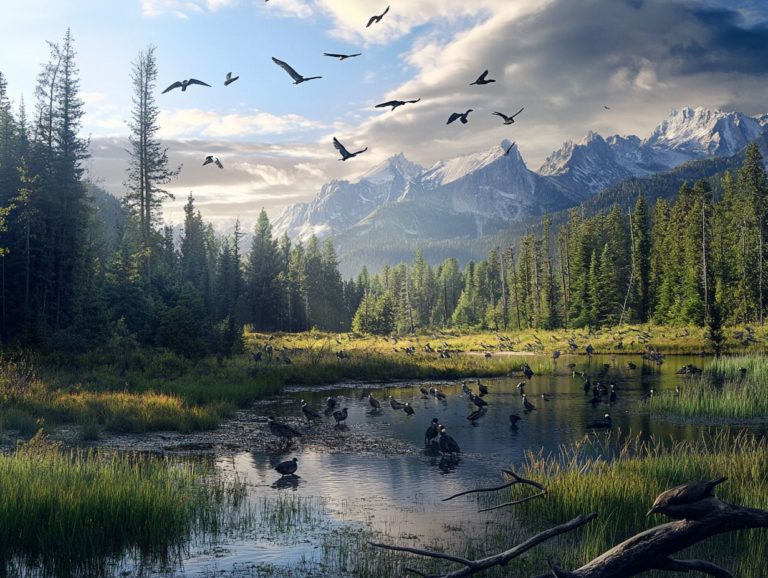
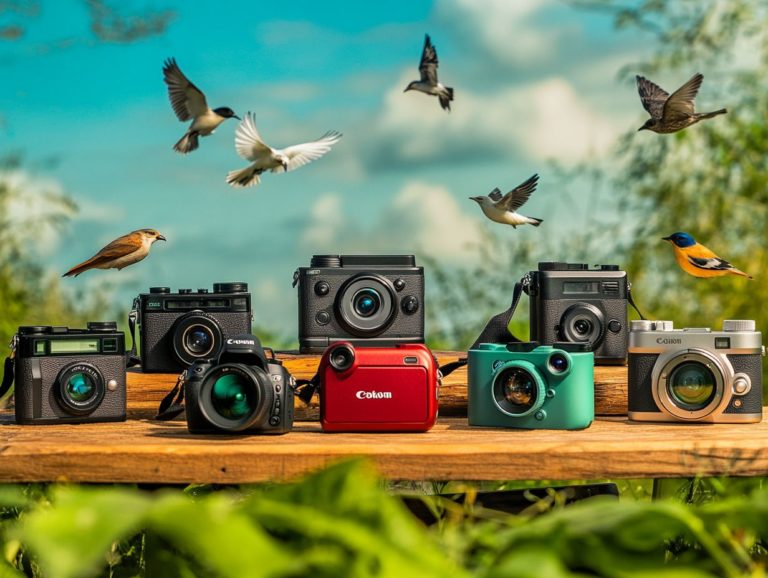
Understanding ISO for Bird Photography
In the realm of bird photography, mastering ISO is crucial it can transform a potential masterpiece into a blurry letdown. This article delves into the significance of ISO and provides practical tips designed for diverse lighting situations.
Regardless of whether you re a seasoned photographer or just beginning your journey, getting comfortable with ISO settings will elevate your images. It will enable you to seize those fleeting moments in nature with finesse. Don t miss out read on to supercharge your bird photography skills today!
Contents
- Key Takeaways:
- What is ISO and Why is it Important?
- Factors Affecting ISO in Bird Photography
- Choosing the Right ISO for Bird Photography
- Tips for Using ISO in Bird Photography
- Common Mistakes to Avoid
- Frequently Asked Questions about capturing birds and their action shots
- What is ISO and why is it important for bird photography, especially in relation to fast-moving birds?
- What are the common ISO settings used in bird photography, and how do they relate to exposure compensation?
- How does ISO affect image quality in bird photography?
- What is ISO invariance and how does it relate to bird photography?
- How can I use ISO to freeze bird motion in my photos?
- Can I adjust ISO while in manual mode for bird photography?
Key Takeaways:
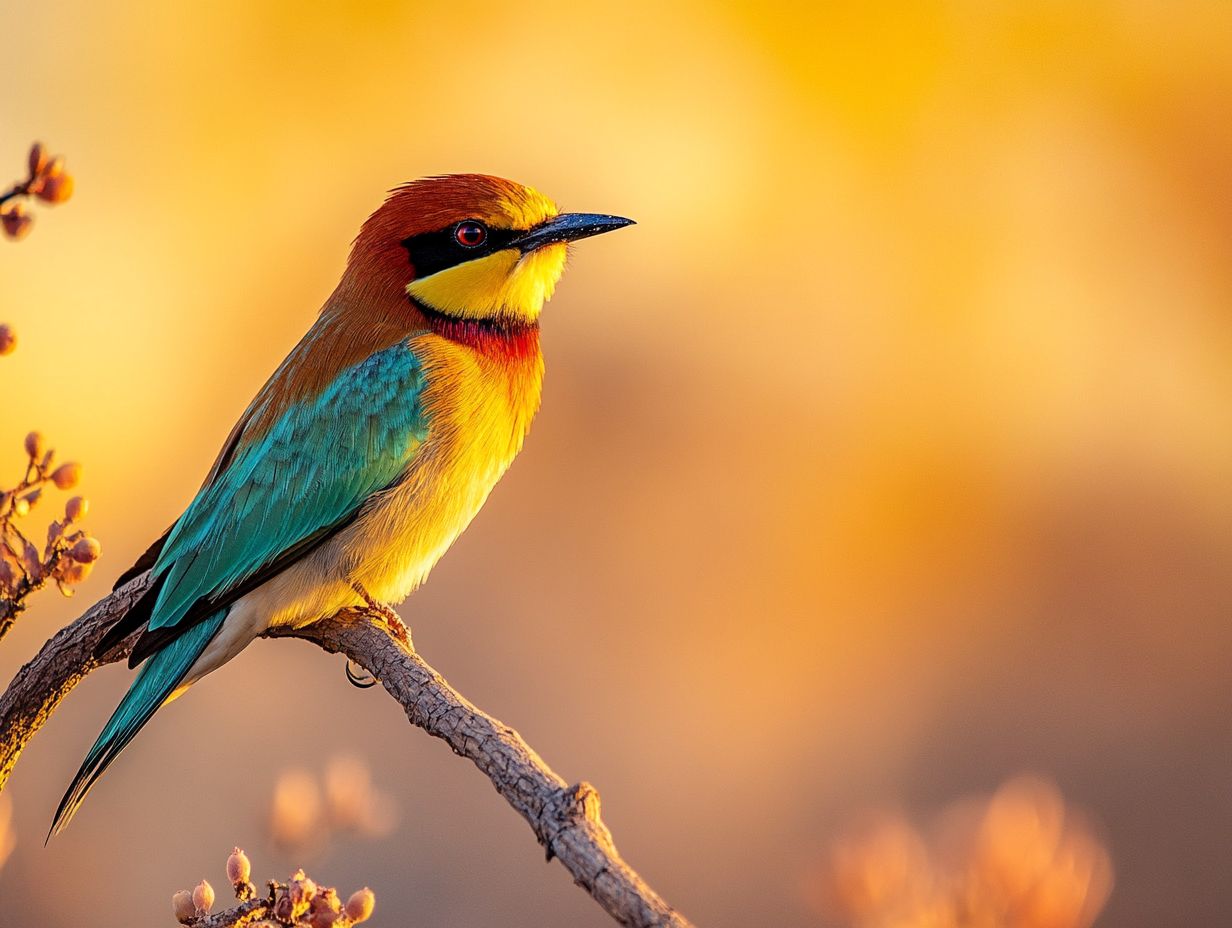
- Understanding ISO is critical for bird photography as it controls the camera’s sensitivity to light, affecting image quality and noise levels.
- Lighting conditions, camera settings, and exposure adjustments influence the appropriate ISO for each shooting situation.
- To maximize image quality and minimize noise, choose the right ISO and adjust based on the shooting scenario. Avoid mistakes by recognizing ISO limitations.
What is ISO and Why is it Important?
ISO, or International Standards Organization, is essential in bird photography. It influences the overall quality of your images by determining your camera’s sensitivity to light. Mastering ISO settings is vital for capturing well-exposed photos of fast-moving birds and wildlife.
If you misjudge your ISO, you risk ending up with blurry images or unsightly noise. Understanding how ISO interacts with shutter speed and aperture helps you optimize exposure and prepares you for various lighting conditions.
Factors Affecting ISO in Bird Photography
Lighting conditions, camera settings, and exposure adjustments significantly influence ISO in your bird photography. Each element plays a crucial role in achieving sharp, stunning images.
By understanding how these components interact, you can enhance your photographic results, especially in challenging lighting scenarios.
Lighting Conditions and Equipment Settings
Lighting conditions are fundamental in bird photography, dictating the ISO settings needed for clear and well-exposed photos. Adjusting your camera settings is key to success. The relationship between natural light and your equipment settings like aperture priority or manual mode can make or break your bird images.
Bright sunlight can lead to overexposed images if your ISO is too high, making a lower ISO necessary to maintain feather details. Conversely, on overcast days, a higher ISO may be needed to capture the same sharpness due to reduced light.
You should also adjust the aperture and shutter speed. Wider apertures can be lifesavers in low-light situations, while faster shutter speeds are crucial for capturing quick movements.
Proper exposure settings ensure well-lit images and allow the vibrancy of colors and details to shine through, bringing these beautiful creatures to life in your frame.
Choosing the Right ISO for Bird Photography
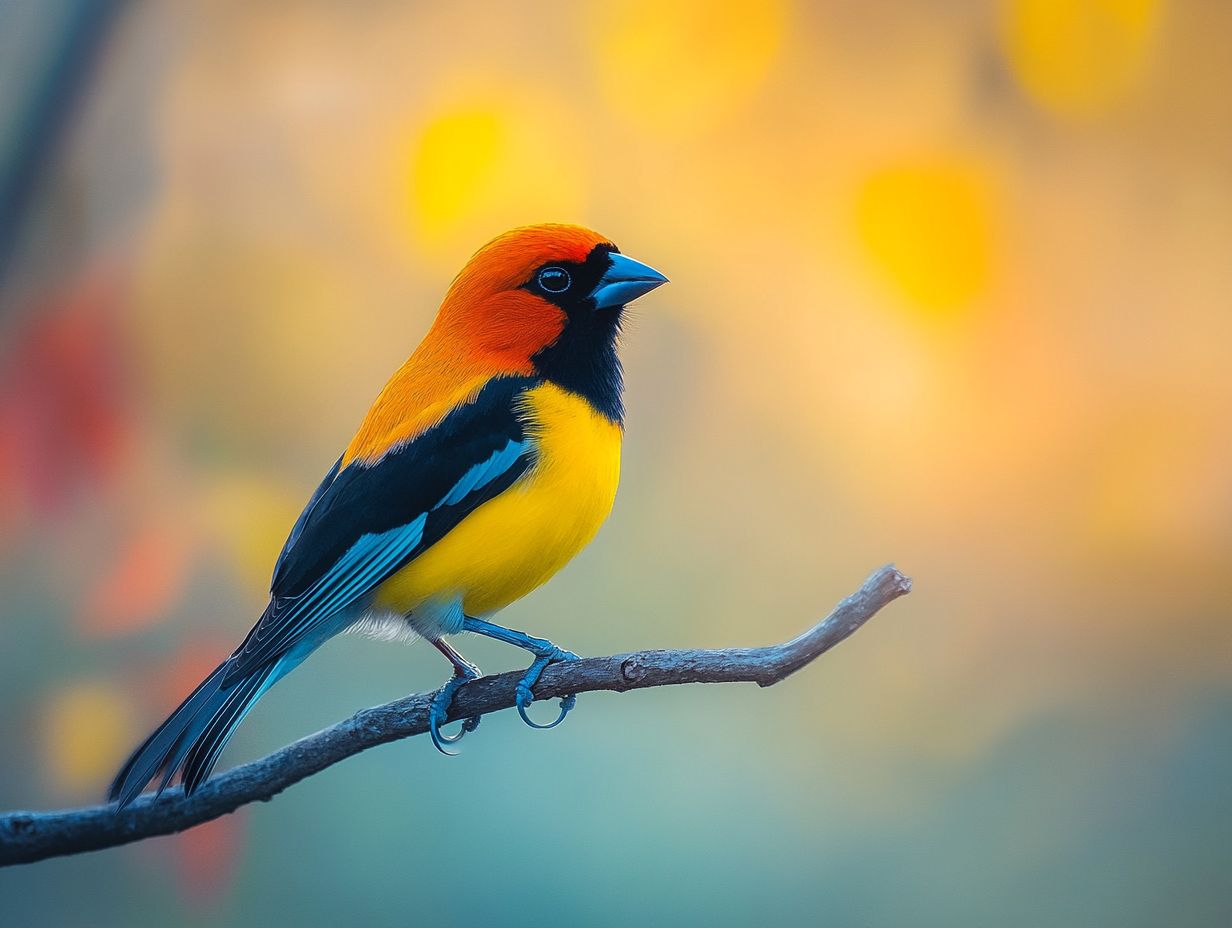
Selecting the appropriate ISO for bird photography requires a thoughtful balance between sensitivity and image quality. Choosing a lower ISO can provide bright exposure and reduce noise, while higher settings may be essential in challenging environments.
By mastering these settings, you can enhance your skills and capture breathtaking images of birds across various conditions.
Practice your photography and share your results with the community!
Considerations for Different Shooting Situations
Different shooting situations in bird photography require attention to ISO settings. When tracking fast-moving birds, precise camera gear and rapid adjustments are essential for capturing sharp images.
For instance, in the soft, dim light of early morning, you may need to increase your ISO to achieve fast shutter speeds and freeze the action. Conversely, the bright midday sun allows for lower ISO settings, which can make the finer details in your images truly shine, although you might encounter harsh shadows.
In low-light situations like overcast days or twilight ISO choice becomes crucial. It helps prevent motion blur in flight shots while capturing the delicate textures of perched birds.
Tips for Using ISO in Bird Photography
Using the right tips to adjust your ISO in bird photography can significantly elevate your image quality. By adjusting your camera settings, such as brightness and autofocus mode, you ll be well-equipped to capture breathtaking photographs.
Mastering these techniques will help you adapt your photography style to various shooting conditions. This transformation enhances your creative expression.
Maximizing Image Quality and Minimizing Noise
To maximize image quality while minimizing noise in your bird photography, careful selection of ISO settings is key. This is especially true in less-than-ideal lighting conditions.
In well-lit environments, opting for the lowest possible ISO can significantly reduce graininess. This choice enables you to capture cleaner, more vibrant representations of feather textures and subtle color gradients.
Adjusting the brightness can also help you achieve well-exposed images without sacrificing detail in highlights and shadows. Don’t overlook post-processing techniques; using noise reduction filters can further enhance clarity and improve the overall quality of your photographs.
By applying these strategies, you sharpen your focus on the subject and enrich the entire visual experience. This makes your bird photography truly stand out.
Common Mistakes to Avoid
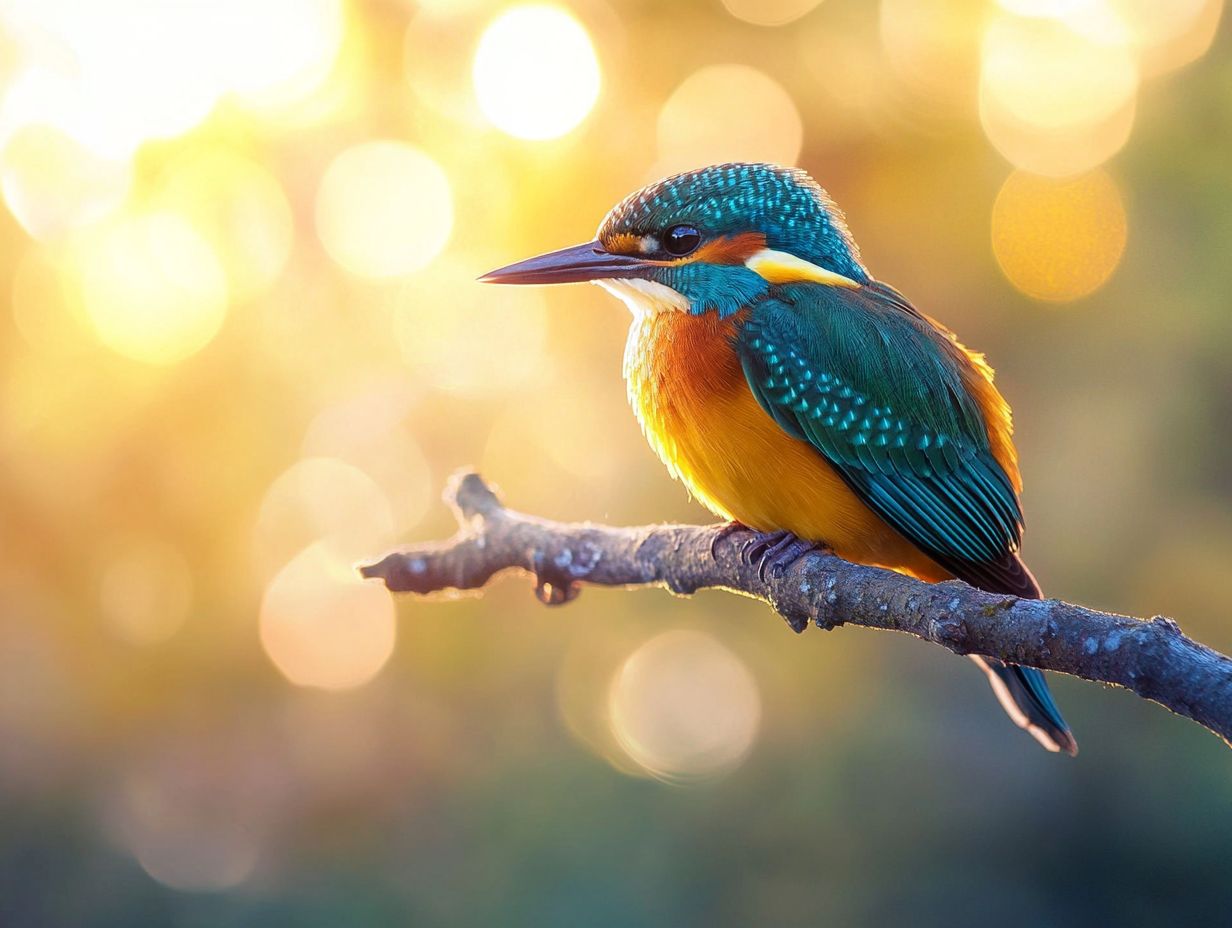
Avoiding common mistakes when adjusting ISO settings in bird photography sets you up for exceptional results. This helps you steer clear of issues like overexposure and excessive noise in your images.
Grasping these pitfalls allows you to seize the breathtaking beauty of birds and wildlife with remarkable precision. This elevates your photography to new heights.
Understanding and Overcoming ISO Limitations
Understanding and overcoming ISO limitations is essential in bird photography. This is particularly important when faced with scenarios that demand higher sensitivity to achieve proper exposure and maintain image quality.
Relying too heavily on elevated ISO settings introduces unwanted noise and compromises delicate details in shadowed areas. These details are vital for showcasing the vibrancy of plumage and the surrounding environment.
To tackle these issues, consider using faster shutter speeds that freeze motion while allowing for lower ISO settings. This approach ultimately reduces noise.
Don’t underestimate the power of post-processing techniques. Noise reduction software and shadow recovery tools can enhance final image quality and rescue details that might otherwise be lost in your quest for the perfect shot.
Summary of Key Points and Final Thoughts
Mastering ISO in bird photography is crucial for capturing breathtaking images that reflect the beauty of birds in their natural habitats. Understanding your camera settings and the surrounding lighting conditions is key.
Whether you re aiming for action shots of rapid flyers or tranquil portraits, the right ISO settings can significantly elevate your image quality. The dynamic relationship between ISO, aperture, and shutter speed gives you the power to adapt swiftly to varying light scenarios, whether shooting under the bright sun or in the shadows of thick forests.
Avoid common mistakes to enhance your photography experience! Using incorrect settings for your environment or forgetting to check your white balance can hinder your results. By experimenting with different equipment settings, you ll find what works best for you.
Continuous learning is key for improvement. Reviewing your past shots and making adjustments will lead to growth over time. Engaging with the photography community and sharing your experiences fosters personal growth and sparks inspiration within the art of bird photography.
Frequently Asked Questions about capturing birds and their action shots
What is ISO and why is it important for bird photography, especially in relation to fast-moving birds?
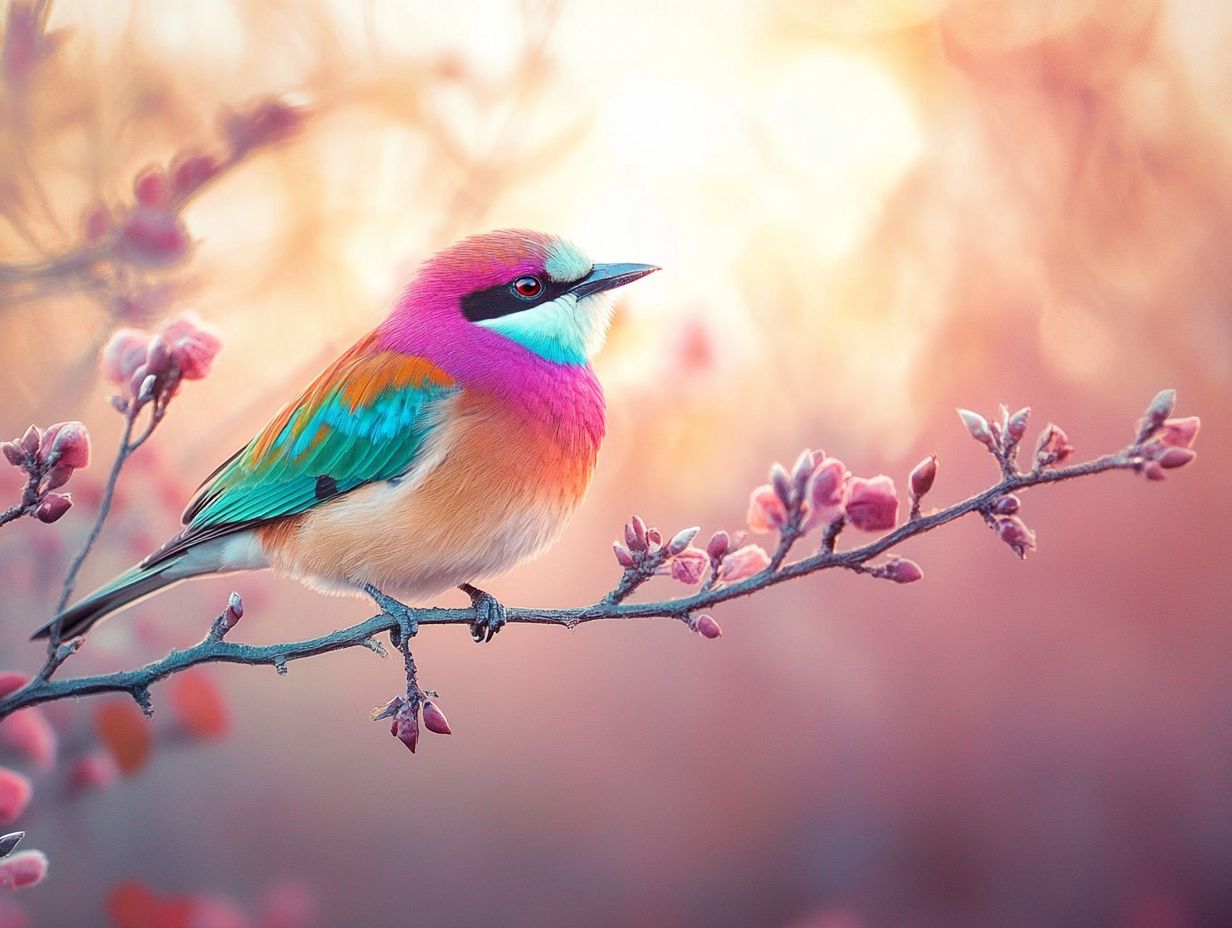
ISO is one of the three factors determining the exposure of a photograph, along with aperture and shutter speed. It represents your camera’s sensor sensitivity to light. In bird photography, ISO is especially important because birds are often in motion and require fast shutter speeds, which can lead to low light situations.
What are the common ISO settings used in bird photography, and how do they relate to exposure compensation?
The most commonly used ISO settings in bird photography are between 400 and 800. These settings allow for a good balance between capturing sharp, high-quality images without introducing excessive noise or graininess. The ideal ISO setting will vary depending on lighting conditions and the specific camera being used.
How does ISO affect image quality in bird photography?
ISO can significantly impact image quality in bird photography. A high ISO setting can increase noise or graininess, reducing overall sharpness and clarity. It s essential to strike a balance between ISO and other exposure settings for the best possible image quality.
What is ISO invariance and how does it relate to bird photography?
ISO invariance refers to a camera’s ability to produce the same image quality at different ISO settings. If you underexpose a photo and adjust the exposure in post-processing, the result will be similar to taking the photo with a higher ISO setting. This is useful in bird photography, where lighting conditions may change quickly.
How can I use ISO to freeze bird motion in my photos?
To freeze bird motion, you ll need a high ISO setting combined with a fast shutter speed. This captures the quick movements of birds and avoids motion blur. Remember that a higher ISO can introduce noise or graininess, so finding the right balance for your specific camera and lighting conditions is crucial.
Can I adjust ISO while in manual mode for bird photography?
Yes, you can adjust ISO while in manual mode for bird photography. In manual mode, you have complete control over all exposure settings, including ISO. This allows for quick adjustments in changing lighting conditions while maintaining control over aperture and shutter speed.
