5 Tips for Using Spotting Scopes in Low Light
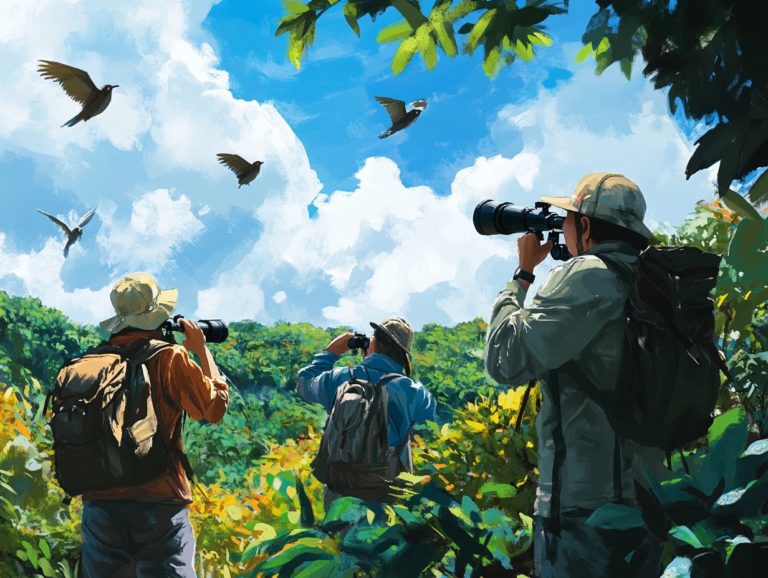
Spotting scopes are exceptional tools that can significantly enhance your outdoor experiences, especially in low light conditions. They are ideal for wildlife observation and bird watching.
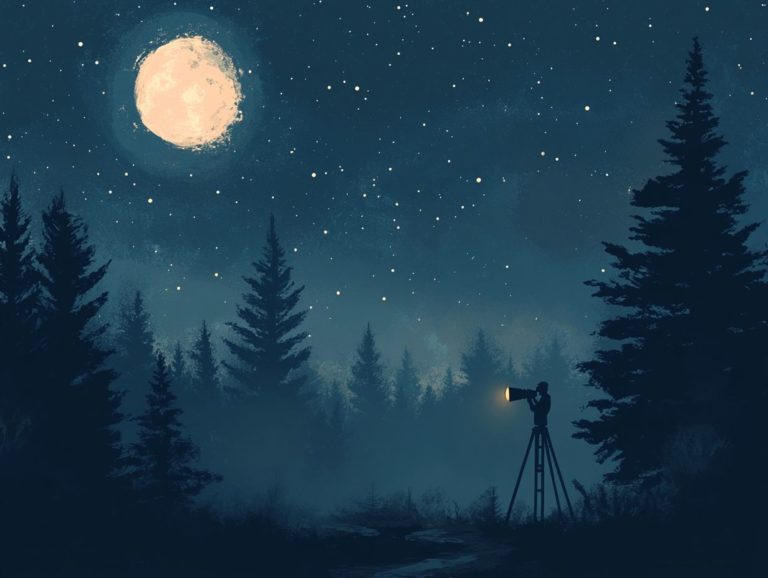
Whether you re birdwatching at dawn, stargazing at dusk, or observing wildlife in the shadows, employing the right techniques can transform your observations. For instance, digiscoping techniques can elevate your experience.
Get ready to unlock the secrets of spotting scopes! This guide is packed with tips to supercharge your low-light experiences. From selecting the perfect scope features to fine-tuning settings and navigating common pitfalls, you ll find invaluable insights.
Ready to boost your spotting skills in low light? Let s jump right in!
Contents
- Key Takeaways:
- 1. Choose a Spotting Scope with a Large Objective Lens
- 2. Use a Tripod for Stability
- 3. Adjust the Focus and Magnification
- 4. Consider Using a Red Dot Finder
- 5. Use a Low Light Filter or Adapter
- What Is a Spotting Scope and How Is It Different from a Telescope?
- What Are the Key Features to Look for in a Spotting Scope for Low Light Conditions?
- What Are the Common Mistakes to Avoid When Using a Spotting Scope in Low Light?
- How Can One Improve Their Night Vision When Using a Spotting Scope?
- What Are Some Tips for Photographing with a Spotting Scope in Low Light?
- How Can You Practice and Improve Your Low Light Spotting Scope Skills?
- Frequently Asked Questions
- What are some tips for using spotting scopes in low light?
- What are the benefits of using spotting scopes in low light?
- Can I use my spotting scope in complete darkness?
- What are some common mistakes to avoid when using spotting scopes in low light?
- Are there any special techniques for using spotting scopes in low light?
Key Takeaways:
- A spotting scope with a large objective lens is essential for capturing more light in low light conditions.
- Using a sturdy tripod will provide stability and minimize camera shake when using a spotting scope in low light.
- Adjusting the focus and magnification settings can help improve visibility in low light situations.
1. Choose a Spotting Scope with a Large Objective Lens
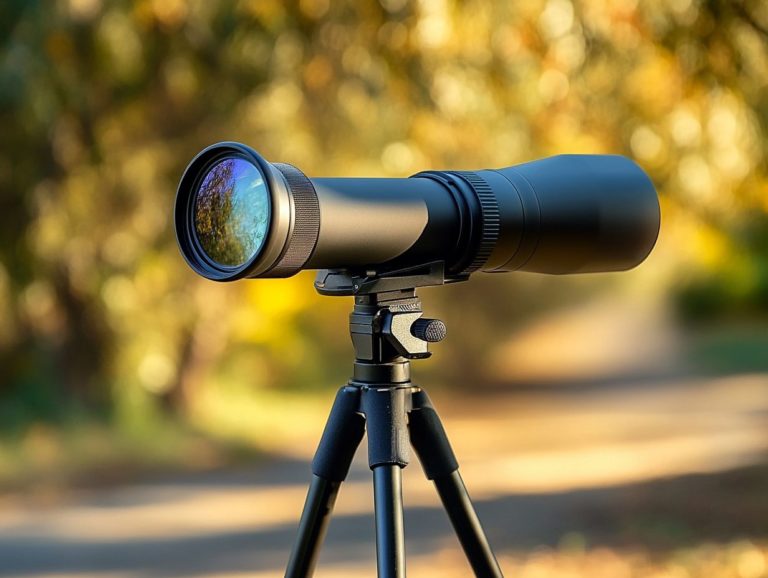
Choose a spotting scope with a large objective lens. This is key for clear images and high magnification. It becomes an invaluable tool for digiscoping and wildlife observation, especially in challenging outdoor environments like the Great Smoky Mountains.
A larger objective lens dramatically enhances light-gathering capabilities. This ensures you can capture sharp, vibrant images even in low-light conditions such as dawn or dusk. This boost in image sharpness directly contributes to a more immersive viewing experience.
Modern lens coatings further optimize performance by reducing reflections and enhancing contrast, which is vital for spotting elusive wildlife. Expert recommendations indicate that depending on whether you’re birdwatching or hunting, features like zoom capabilities and durability should align with your activity’s demands.
2. Use a Tripod for Stability
A sturdy tripod is essential for maintaining stability when you re using a spotting scope. This ensures your wildlife observation sessions or nature photography captures remain uncompromised by shaky hands or uneven terrain, especially when using a digital camera.
In outdoor settings, the right tripod enhances your viewing experience. It grants you precision and control, transforming your outings. When selecting the perfect tripod, consider factors like weight, height, and material these elements significantly influence portability and performance.
A sturdy tripod enhances image sharpness, especially in low-light conditions. It also provides improved clarity during high magnification shots. This stability effectively eliminates blurriness caused by camera shake, allowing you to capture nature’s details with remarkable fidelity.
3. Adjust the Focus and Magnification
Adjusting the focus and zoom magnification on your spotting scope is crucial for achieving optimum focus. This ensures your wildlife observation or nature photography produces breathtaking, crystal-clear images.
By mastering these adjustments, you can enhance your ability to capture intricate details of the natural world. Start by placing your scope on a stable surface to minimize vibrations. When focusing, begin with the lowest magnification to locate your subject easily, then gradually increase it for a detailed view.
Using a remote control can enhance your precision. It allows smooth adjustments without disrupting your setup. Implementing these techniques elevates your overall viewing experience during birdwatching and proves invaluable in target shooting, where clarity is essential.
4. Consider Using a Red Dot Finder
A red dot finder can elevate your spotting scope experience. This accessory makes it easier to find and track subjects during outdoor pursuits like hunting or wildlife observation.
This innovative tool employs a straightforward yet powerful LED projection system, creating a bright red dot on the lens. This feature allows you to quickly find your target. Unlike traditional crosshairs, which can be challenging to focus on especially in low-light conditions a red dot finder provides a clear advantage by helping you quickly find your target without the hassle of precise alignment.
To effectively integrate this tool into your spotting scope, be sure to mount it properly to maintain alignment with your scope s optical axis. Take the time to practice using it in various environments. Practicing will improve your tracking skills during your adventures in the great outdoors.
5. Use a Low Light Filter or Adapter
In low-light conditions, you ll find that using a low-light filter or camera adapter can significantly enhance visibility and image stabilization, transforming your wildlife observation and photography experiences.
These tools are essential for photographers who aim to capture vibrant images during the enchanting hours of dawn or dusk. The right low-light filter minimizes glare and boosts contrast, allowing you to isolate your subjects. Camera adapters provide the crucial link between your spotting scope and your camera, creating a powerful synergy that maximizes image quality.
Use these filters and adapters as the sun sets or in shaded areas, as they can effectively reduce noise in your images. Integrating them into your setup is often a breeze, thanks to simple screw-on or slide-on mechanisms that ensure a seamless transition from day to night photography, without disrupting your workflow.
What Is a Spotting Scope and How Is It Different from a Telescope?
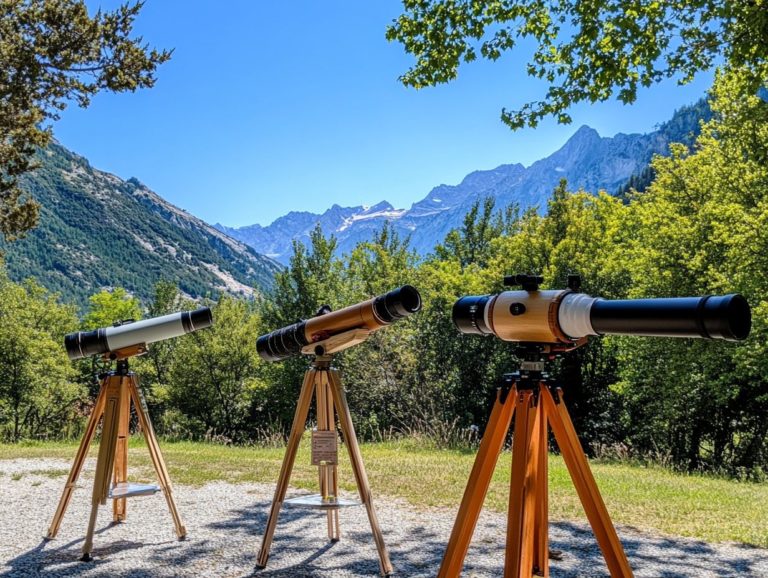
A spotting scope is your go-to portable optical device for long-range viewing and wildlife observation. It sets itself apart from a telescope with its high-quality optics and versatility in outdoor adventures, including bird watching and hunting.
While telescopes are mainly designed for gazing at the stars, spotting scopes are purpose-built for terrestrial activities, making them exceptionally effective for observing wildlife in their natural habitats.
Thanks to their compact design and sturdy construction, spotting scopes are easy to transport and set up. With impressive magnification capabilities, typically ranging from 15x to 60x, they are essential tools for hunting or nature photography, where capturing intricate details from afar is paramount.
Features like waterproof optics, fog-proof construction, and a wide field of view further elevate their usability, ensuring that both amateur and professional observers can fully optimize their experiences in various environments.
What Are the Key Features to Look for in a Spotting Scope for Low Light Conditions?
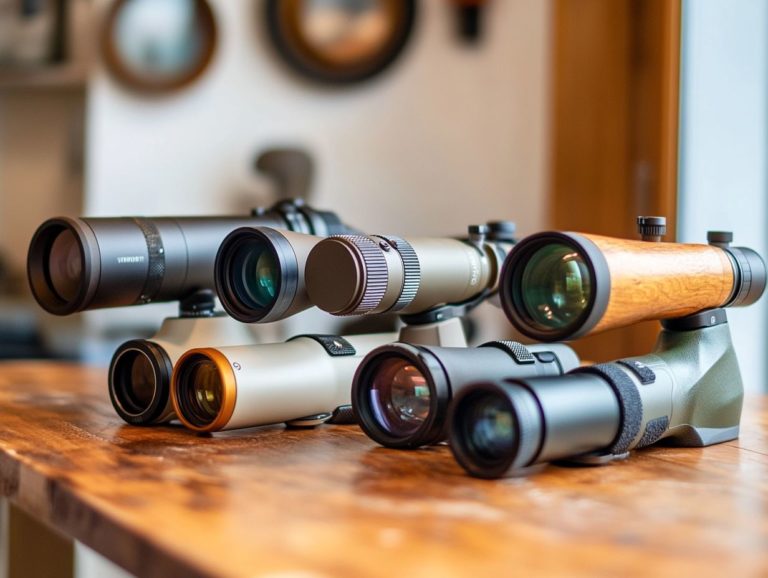
When selecting a spotting scope for low-light conditions, prioritize a few key features: a multi-coated lens, a large objective diameter, and exceptional image clarity. For more detailed guidance, check out how to use your spotting scope for birdwatching at night. These elements are essential for ensuring optimal performance in dim environments.
These features work together to capture as much light as possible, which is vital for spotting elusive wildlife during those magical dawn or dusk moments. A multi-coated lens, treated to reduce glare and improve light transmission, is the ideal choice for those who venture out during twilight hours.
Opting for an objective diameter of 50mm or more will deliver a brighter image, particularly in shaded areas. Seek out scopes equipped with a high-quality prism system, such as BaK-4, to enhance clarity.
Ultimately, paying attention to these specifications not only elevates image quality for hunters, bird watchers, and nature photographers but also enriches your overall outdoor experiences. Make the best equipment selection for your adventures!
What Are the Common Mistakes to Avoid When Using a Spotting Scope in Low Light?
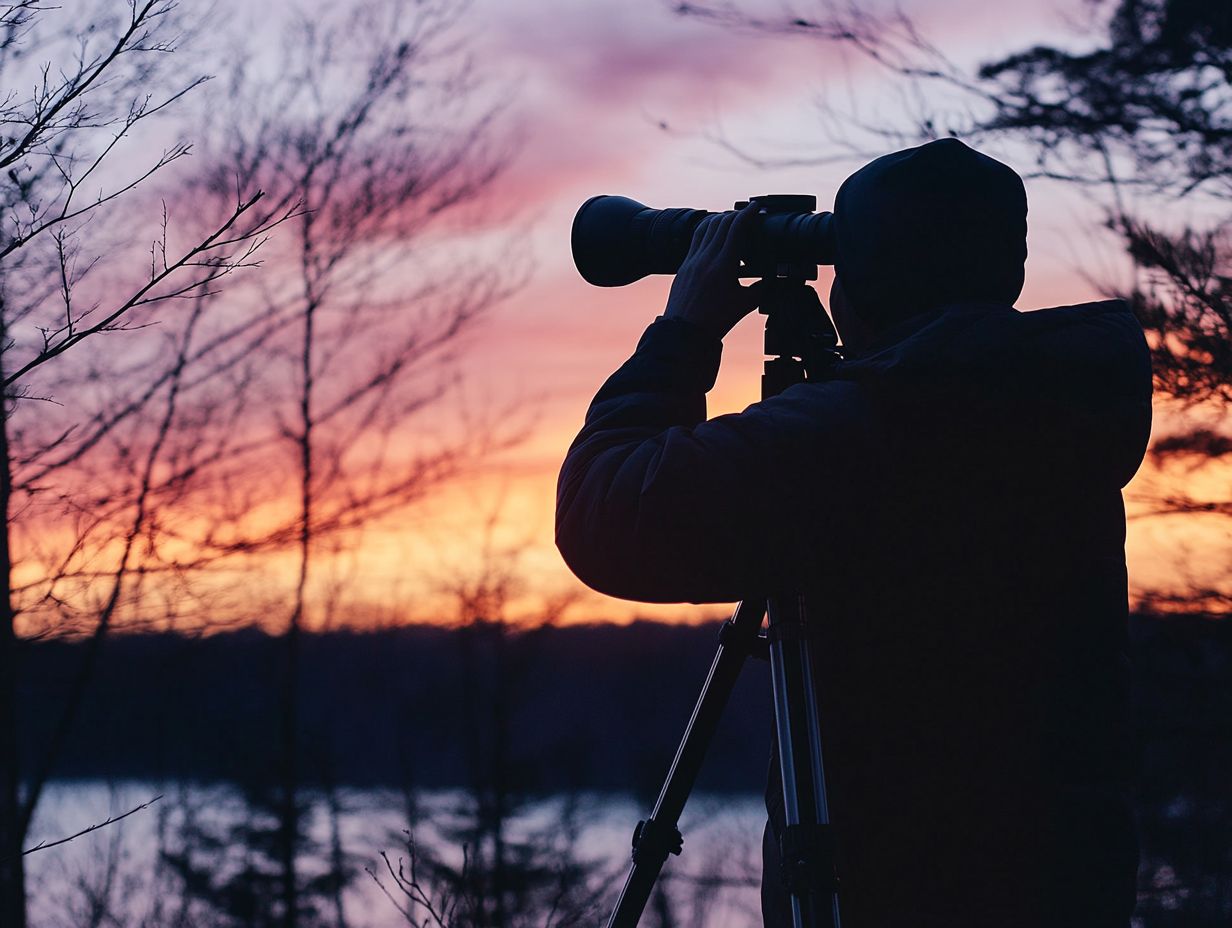
Using a spotting scope in low light can be thrilling, but it’s easy to make mistakes! Neglecting proper focus adjustment, choosing suboptimal magnification, and failing to stabilize your tripod are among these pitfalls. To avoid these issues, refer to spotting scope use tips for beginners.
These challenges can significantly affect the clarity of your views, often leaving you with blurred or unclear images. Many users overlook the necessity of adjusting the scope’s focus based on the lighting conditions, leading to frustrating and unproductive experiences.
Another frequent misstep is choosing a higher magnification than necessary. While it may seem smart, it often amplifies any shakiness and compromises image stability, negatively affecting your wildlife viewing experience.
To tackle these issues, it s essential to use a sturdy tripod and experiment with lower zoom magnification settings to achieve optimal sharpness. By mastering these techniques, you can transform your viewing experience, allowing you to fully appreciate the beauty of wildlife even in dim conditions.
How Can One Improve Their Night Vision When Using a Spotting Scope?
Improving your night vision with a spotting scope involves a few key techniques that can elevate your experience. Start by allowing your eyes to adjust to the darkness; this typically takes about 20-30 minutes. By taking this time, you’ll significantly enhance your ability to spot elusive wildlife during those magical hours just after sunset or before dawn. Additionally, consider exploring 5 unique features in high-end spotting scopes that can further improve your viewing experience.
Choosing a scope with large objective lenses is crucial, as these lenses gather more light and improve visibility in low-light conditions. Choose models that feature multi-coated optics; this minimizes glare and maximizes clarity.
These thoughtful adjustments will enrich your wildlife observation experience and dramatically enhance the quality of your nature photography. You’ll be able to capture stunning photographic images of animals in their natural habitat, even when the light isn’t ideal.
What Are Some Tips for Photographing with a Spotting Scope in Low Light?
When photographing with a spotting scope in low light, remember these 5 ways to enhance your spotting scope experience to elevate your experience:
- Use a fast shutter speed
- Make sure your tripod is stable
- Consider using image stabilization techniques to capture clear, sharp images and enhance image clarity
Utilizing a wide aperture can significantly enhance light intake, allowing your subject to stand out against darker surroundings. Adjusting the light sensitivity settings is also crucial; while a higher setting may cause graininess, it can brighten your photographic images in dim conditions.
To further improve image quality, think about using camera adapters that integrate seamlessly with your spotting scope. This helps achieve better alignment and focus. Remote controls help minimize camera shake, ensuring each shot remains as crisp as possible.
By combining these techniques with a bit of patience and practice, you can achieve stunning low light images that showcase your skills in wildlife viewing.
How Can You Practice and Improve Your Low Light Spotting Scope Skills?
To hone your low light spotting scope skills, engaging in regular outdoor activities at dawn or dusk can provide invaluable experience. Additionally, learning how to make the most of your spotting scope setup will help you familiarize yourself with the unique challenges posed by low light conditions.
Incorporating exercises such as identifying stationary objects or the silhouettes of wildlife against the horizon can significantly enhance your spotting abilities. By exploring a range of environments from wooded areas to expansive fields you ll gain better adaptability and a deeper understanding of how light shifts in each setting.
Consistent practice in diverse conditions is key. It allows you to develop the keen ability to discern subtle movements and details that might otherwise slip by unnoticed. Observing wildlife at different times of day, especially during the golden hour the time shortly after sunrise or before sunset when the light is soft and warm or twilight, not only sharpens your observational skills but also offers fascinating insights into animal behavior and their movement patterns in varying light conditions.
Frequently Asked Questions
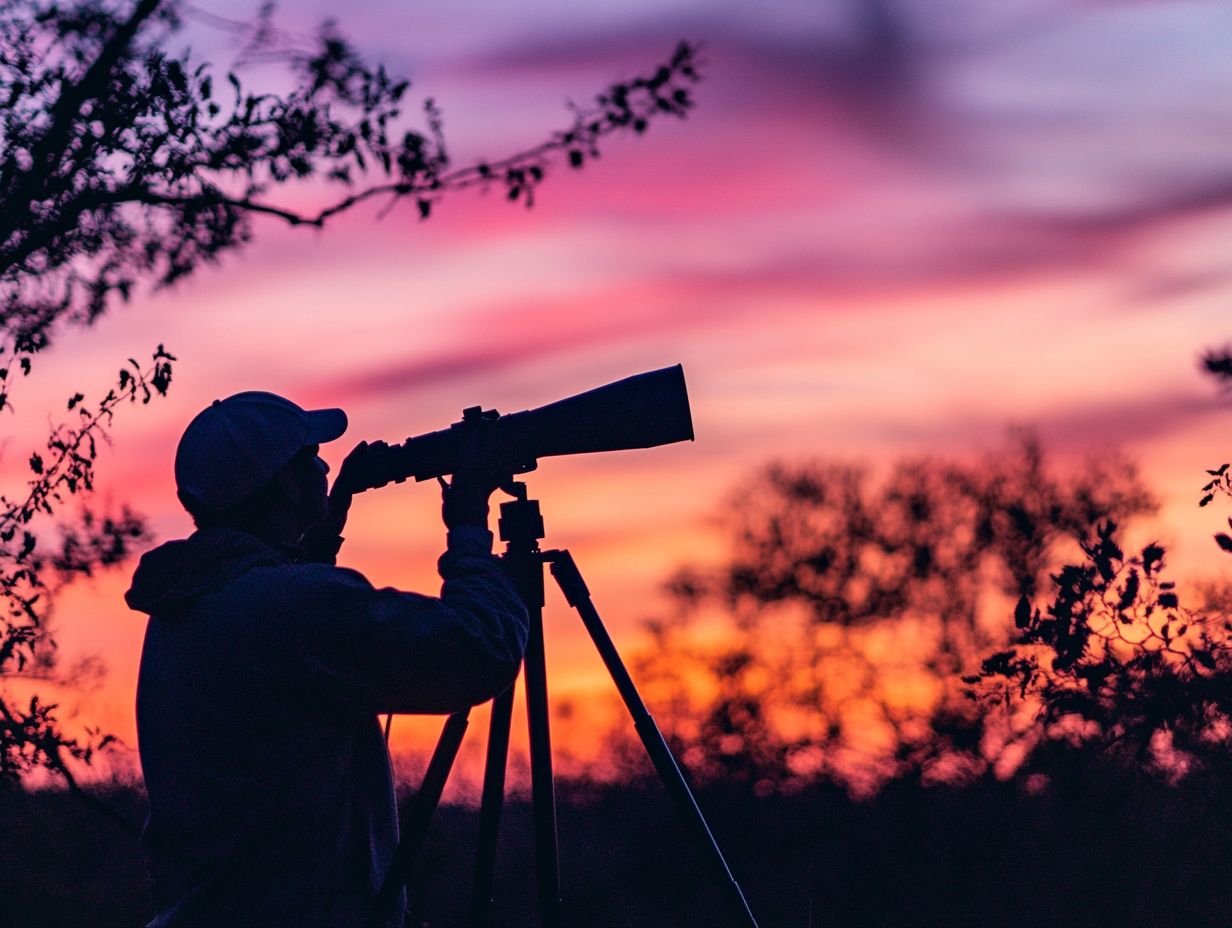
What are some tips for using spotting scopes in low light?
- Choose a spotting scope with a large objective lens The larger the objective lens, the more light it can gather, allowing for a brighter and clearer image in low light conditions.
- Use a tripod Stability is crucial for clear and steady images, especially in low light. Using a tripod will reduce any shakiness and allow you to focus on your subject more easily.
- Adjust the eyepiece focus Make sure to properly adjust the eyepiece focus on your spotting scope for your individual eyesight. This will help you achieve a sharper image, even in low light, enhancing your image clarity.
- Use a spotting scope with high magnification Higher magnification means you can see your subject more clearly and in greater detail, even in low light conditions.
- Consider using a spotting scope with lens coatings Spotting scopes with coated lenses can help increase light transmission and improve image quality in low light situations.
What are the benefits of using spotting scopes in low light?
- Increased visibility Spotting scopes allow you to see subjects in greater detail and from a distance, even in low light conditions.
- Better image quality With the right tips and techniques, spotting scopes can produce clear and high-quality images in low light, making them ideal for wildlife or stargazing.
- Versatility Spotting scopes can be used in a variety of low light situations, such as birdwatching, nature observation, or even for astronomy purposes.
- Lightweight and portable Compared to other low light imaging equipment, spotting scopes are typically more compact and lightweight, making them easier to carry and transport.
- Cost-effective Spotting scopes are a more budget-friendly option compared to other low light imaging tools, making them accessible to a wider range of individuals.
Can I use my spotting scope in complete darkness?
No, spotting scopes require some light in order to produce an image. However, with the right settings and techniques, such as how to use spotting scopes for nature observation and using a digital camera for capturing images, you can still achieve decent images in low light conditions.
What are some common mistakes to avoid when using spotting scopes in low light?
- Not using a tripod Holding a spotting scope by hand in low light conditions can result in blurry images. Always use a tripod for stability.
- Not adjusting the settings Make sure to adjust the eyepiece focus, magnification, and other settings for optimal image quality in low light.
- Not using coated lenses Coated lenses help improve light transmission, which is crucial in low light situations. Make sure to invest in a spotting scope with high lens quality.
- Not being patient Achieving clear images in low light takes time and patience. Don’t rush the process and take your time to adjust the settings and find the right focus.
- Not considering the weather Weather can greatly affect low light conditions, so make sure to check the forecast and plan your outdoor adventures accordingly.
Now that you have these tips, grab your spotting scope and check out the best practices for carrying your spotting scope before heading outside during the magical hours of dawn and dusk!
Are there any special techniques for using spotting scopes in low light?
1. Use the “slow eyepiece method.” Adjust the eyepiece focus back and forth slowly. This helps you find the sharpest image for your spotting scope.
2. “Bracket” your focus. Take multiple images at different focus points. Then, choose the best one afterwards.
3. Use a red flashlight. It is less likely to disturb animals and helps you navigate in low light without ruining your night vision.
4. Use a lens hood. This can help reduce glare and unwanted light interference. As a result, you’ll achieve a clearer image in low light, improving your image sharpness.
5. Take advantage of natural light sources. Position yourself to use natural light like the moon or streetlights. This can make a huge difference in illuminating your subject!
